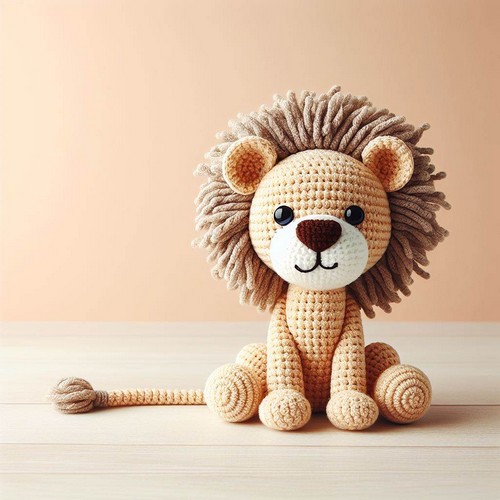
The Crochet Lion Amigurumi Pattern is a fun, step-by-step guide that teaches you how to make a cute stuffed lion toy using yarn and a crochet hook. This pattern is perfect for both beginners and experienced crocheters. Following simple instructions, you'll create a soft, cuddly lion with a mane, tail, and adorable face. It's a great project for anyone who loves crafting, wants to make a special handmade gift, or enjoys collecting unique, handcrafted animals.
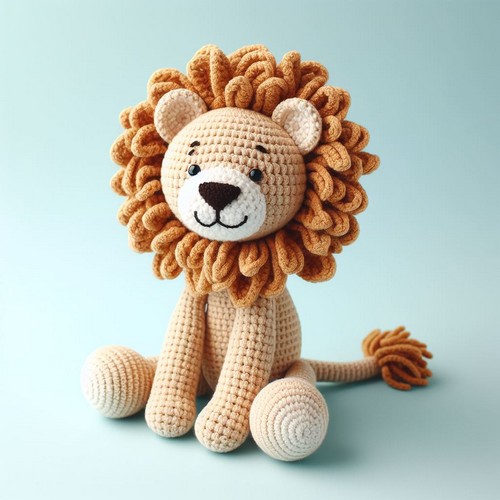
Crochet Lion Amigurumi Pattern
The Crochet Lion Amigurumi Pattern brings a charming, mane-fluffed lion with bright eyes and a cute nose to life. This pattern involves crocheting in rounds using basic stitches, assembling parts, and adding facial features with yarn or embroidery for expression. Perfect for crafters looking to create a cuddly, brave-looking lion pal.
Making Your Crochet Lion Amigurumi Pattern
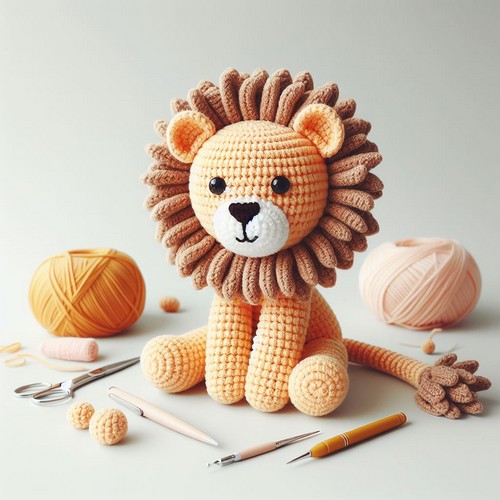
Materials:
- Worsted weight yarn in yellow, orange, brown, black, and white (optional, for the eyes)
- Crochet hook (size depends on yarn weight, but the image uses a 3.5 mm hook)
- Stuffing
- Yarn needle
- Scissors
- Two black safety eyes (optional)
Step By Step Pattern
Stitches and techniques used:
- Single crochet (sc)
- Increase (inc)
- Decrease (dec)
- Magic ring (mr)
- Chain (ch)
- Slip stitch (sl st)
Instructions:
1. Body:
- Using yellow yarn, start with a magic ring and crochet 6 single crochets (sc) in the ring. Join with a slip stitch (sl st).
- Round 2: Increase in each stitch around (12 sc). Join with a sl st.
- Round 3: Increase in every other stitch around (18 sc). Join with a sl st.
- Round 4: Increase in every third stitch around (24 sc). Join with a sl st.
- Rounds 5-8: sc in each stitch around, joining each round with a sl st.
- Round 9: Increase in every fourth stitch around (30 sc). Join with a sl st.
- Rounds 10-14: sc in each stitch around, joining each round with a sl st.
- Round 15: Stuff the body firmly. Decrease in every fourth stitch around (24 sc). Join with a sl st.
- Round 16: Decrease in every third stitch around (18 sc). Join with a sl st.
- Round 17: Decrease in every other stitch around (12 sc). Join with a sl st.
- Round 18: Decrease in each stitch around (6 sc). Join with a sl st. Tie off and weave in the end.
2. Head:
- With yellow yarn, start with a magic ring and crochet 6 sc in the ring. Join with a sl st.
- Round 2: Increase in each stitch around (12 sc). Join with a sl st.
- Round 3: Increase in every other stitch around (18 sc). Join with a sl st.
- Rounds 4-5: sc in each stitch around, joining each round with a sl st.
- Round 6: Increase in every third stitch around (24 sc). Join with a sl st.
- Rounds 7-8: sc in each stitch around, joining each round with a sl st.
- Round 9: Stuff the head firmly. Decrease in every third stitch around (18 sc). Join with a sl st.
- Round 10: Decrease in every other stitch around (12 sc). Join with a sl st.
- Round 11: Decrease in each stitch around (6 sc). Join with a sl st. Tie off and weave in the end.
3. Ears (make 2):
- With yellow yarn, chain 5 stitches.
- Slip stitch into the first chain from the hook to form a ring.
- Round 1: sc in each stitch around (5 sc). Join with a sl st.
- Round 2: Increase in each stitch around (10 sc). Join with a sl st.
- Round 3: sc in each stitch around (10 sc). Join with a sl st.
- Round 4: Decrease in every other stitch around (5 sc). Join with a sl st. Tie off and weave in the end.
- Fold the ear in half lengthwise and sew the sides together, leaving the bottom open. Stuff the ear lightly and sew the bottom closed.
4. Attaching the ears:
- Sew the ears to the top of the head.
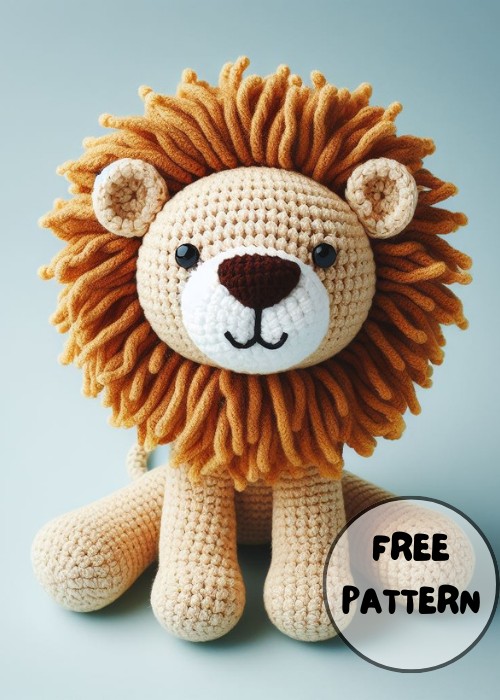
5. Mane:
- With brown yarn, cut a length of yarn about 4-5 times the length of your crochet hook.
- Fold the yarn in half and loop it over your crochet hook.
- Insert the hook into the back loop of a stitch on the head, grab the yarn loop from behind the work, pull it through the stitch, and then pull through the loop on your hook to create a single crochet.
- Repeat this process, going around the head and down the neck in rows, following the image as a guide for placement and fullness of the mane.
6. Nose:
- With black yarn, start with a magic ring and crochet 6 sc in the ring.
- Join with a sl st.
- Round 2: Increase in each stitch around (12 sc). Join with a sl st.
- Round 3: sc in each stitch around (12 sc). Join with a sl st.
- Stuff the nose lightly.
- Round 4: Decrease in every other stitch around (6 sc). Join with a sl st. Tie off and weave in the end.
- Sew the nose to the center of the face, slightly below the head.
7. Eyes (optional):
- Sew on the two black safety eyes to the head.
8. Optional details:
- You can embroider a small mouth on the face using black yarn or thread.
- You can use orange yarn to embroider small triangles on the cheeks for whiskers.
- You can crochet a small tail using brown yarn and sew it to the back of the body.
9. Finishing touches:
- Once you've added all the desired details, your cute crochet lion amigurumi is complete!
Tips:
- Use stitch markers to keep track of rounds and identify where to sew on body parts.
- You can adjust the size of the lion by using a different yarn weight or crochet hook size.
- Feel free to experiment with different colors and details to create a unique lion!

Leave a Reply