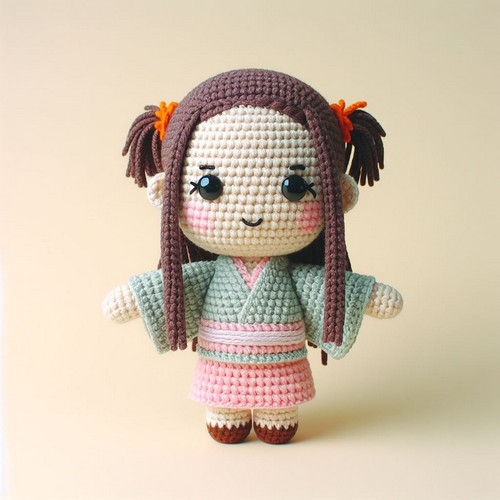
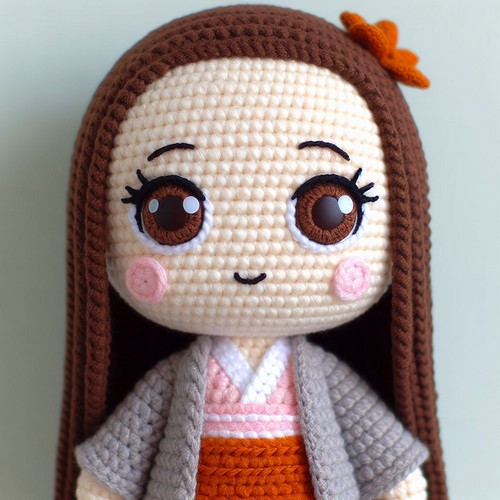
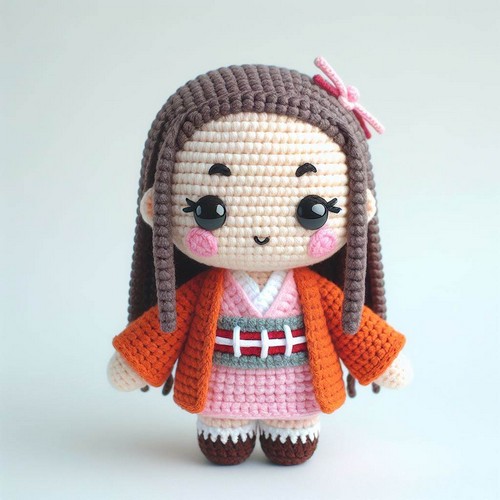
The Crochet Nezuko Doll Amigurumi Pattern is a guide for making a small, soft doll that looks like Nezuko, a character from a popular story. This pattern shows you how to use yarn and a crochet hook to create the doll step by step. It's a fun project for people who enjoy crafting and making their own toys, especially if they are fans of Nezuko. The end result is a cute, cuddly doll that you can display or give as a special handmade gift.
Crochet Nezuko Doll Amigurumi Pattern
The Crochet Nezuko Doll Amigurumi Pattern lets you create a mini version of Nezuko from popular anime. Using yarn and a crochet hook, you follow detailed steps to make her outfit and features recognizable. From her pink kimono to her bamboo mouthpiece, this pattern focuses on capturing her unique look in a cuddly form, perfect for fans.
Making Your Crochet Nezuko Doll Amigurumi Pattern
Materials:
- Yarn in skin color, pink, brown, and black
- A crochet hook suitable for the yarn selected (usually a size that creates a tight enough stitch for the stuffing not to show through)
- Fiberfill stuffing
- Yarn needle
- Scissors
- Black embroidery floss or thread for the features
- Safety eyes or buttons for eyes
Step By Step Pattern
Abbreviations:
- ch – chain
- sc – single crochet
- dc – double crochet
- inc – increase (make 2 sc in the same stitch)
- dec – decrease (combine two stitches into one)
- sl st – slip stitch
- FO – fasten off
- [ ] – repeat instructions within square brackets as directed
- ( ) – total number of stitches at the end of the round
Body (with brown yarn):
- Magic ring, 6 sc in ring (6)
- [inc] x 6 (12)
- [sc, inc] x 6 (18)
- [2 sc, inc] x 6 (24)
- [3 sc, inc] x 6 (30)
6-10. Sc in each sc around (30) (5 rounds) - [3 sc, dec] x 6 (24)
- [2 sc, dec] x 6 (18)
- [sc, dec] x 6 (12)
- [dec] x 6 (6)
- Stuff firmly with fiberfill. FO and weave in ends.
Head (with skin-colored yarn):
- Magic ring, 6 sc in ring (6)
- [inc] x 6 (12)
- [sc, inc] x 6 (18)
- [2 sc, inc] x 6 (24)
- [3 sc, inc] x 6 (30)
6-10. Sc in each sc around (30) (5 rounds)
- Insert safety eyes between rounds 8 and 9, about 6 stitches apart.
- Embroider eyebrows and mouth using black embroidery floss.
- [3 sc, dec] x 6 (24)
- [2 sc, dec] x 6 (18)
- [sc, dec] x 6 (12)
- Begin to stuff the head, continue stuffing as work progresses.
- [dec] x 6 (6)
- FO and leave a long tail for sewing. Finish stuffing the head and sew it closed. Then sew the head to the body.
Hair (with black yarn):
- Chain to length that wraps around the doll's head.
- Starting in the second chain from the hook, dc in each chain across, turn.
- Ch 3 (counts as first dc), dc in each dc across.
- Repeat step 3 until the hairpiece covers the head appropriately.
- Sew the hairpiece onto the head.
Kimono (with pink yarn):
- This will be worked as a flat piece then wrapped and sewn onto the doll.
- Chain a length that wraps around the doll with some overlap.
- Starting in the second chain from the hook, dc in each chain across, turn.
- Ch 3 (counts as first dc), dc in each dc across.
- Repeat step 3 until the piece is long enough to cover the doll from the neck to just above the bottom of the body.
- Wrap the kimono around the doll's body and sew the edges together at the back.
Arms and legs (Make 2 for arms and 2 for legs, with skin-colored yarn for the arms and brown for the legs):
- Magic ring, 6 sc in the ring (6)
- Sc in each sc around (6) for several rounds until the desired length is achieved.
- Stuff lightly and sew the top closed. Attach the arms on either side of the body.
Assembly:
- Align and sew the head onto the body.
- Attach the limbs, sewing them securely.
- Detail the hair, kimono, and face to capture the character's essence.
- Cut out and sew on the bamboo piece for her mouth for added details using light brown or cream-colored yarn.
Finishing touches:
- Add any additional details you wish to include, such as the obi (belt) of the kimono or any other accessories she has in the anime.
- Weave in any remaining ends to tidy up your doll.

Leave a Reply