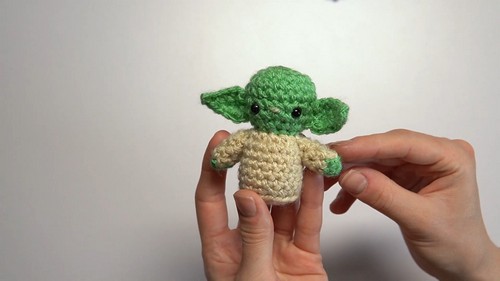
Creating your very own Baby Yoda amigurumi with crochet! This cute little project brings the adorable character from "Star Wars" into your home in a soft, cuddly form. With some yarn, a crochet hook, and some stuffing, you’ll craft a little friend that fits right in the palm of your hand.
Crochet Baby Yoda Amigurumi
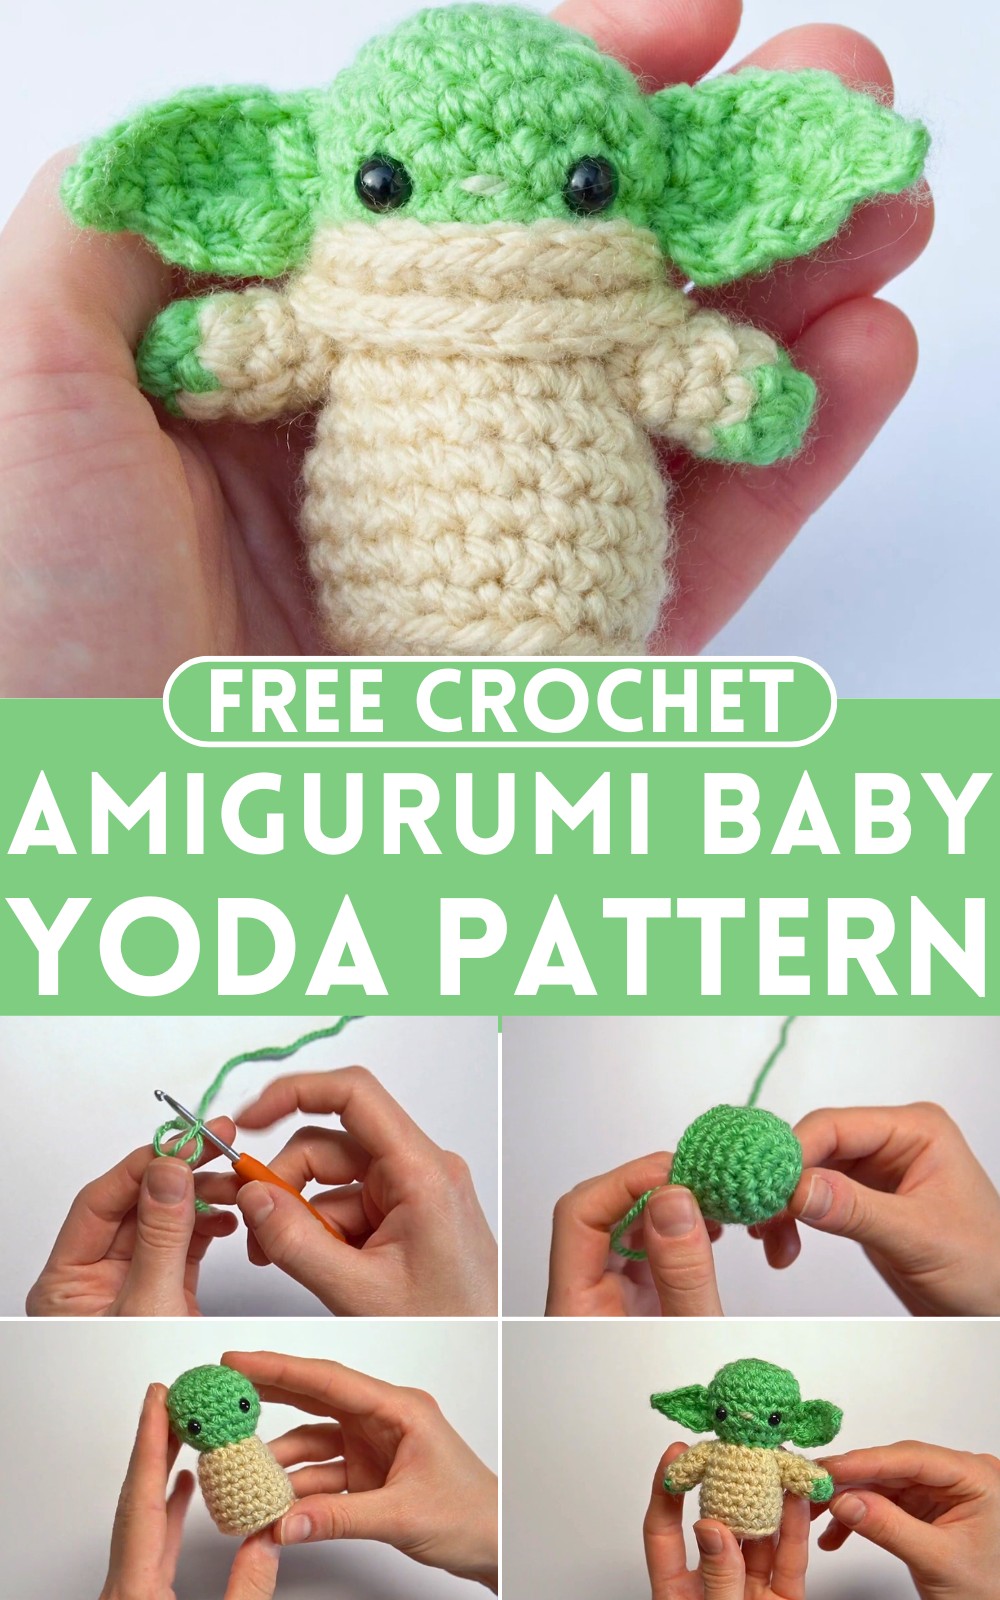
Crocheting Baby Yoda is not just fun, but it's also a satisfying way to make a special toy for yourself or a unique gift for a fellow "Star Wars" fan. Make his big eyes and ears coming to life as you stitch by stitch, bringing a little piece of a galaxy far, far away into your world.
Materials
- 3 different colors of size 4 acrylic yarn (seam, pistachio green, and vanilla cream)
- 3.0 millimeter crochet hook
- Darning needle
- Stitch marker
- Safety eyes with backings
- Polyester stuffing
- Scissors
- Optional pins
Body (Use Vanilla Cream Yarn)
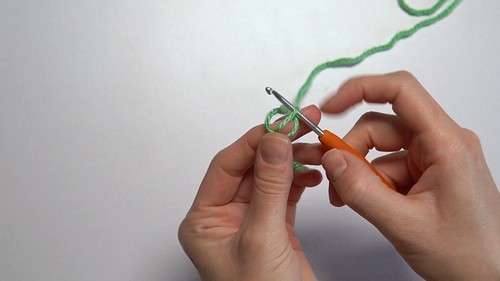
Begin with a magic circle of 6 stitches.
- Increase in each of the 6 stitches (12 stitches).
- Single crochet increase in every stitch around (18 stitches).
- Single crochet in the back loops only of each stitch around (18 stitches).
- Single crochet around the entire round for 5 rounds.
- Single crochet one additional stitch (this will mark the new start of the round).
- Single crochet and then invisible decrease around the entire round. Repeat this for the last round, ending with 9 stitches.
- Cut the yarn, leaving a long tail for sewing later.
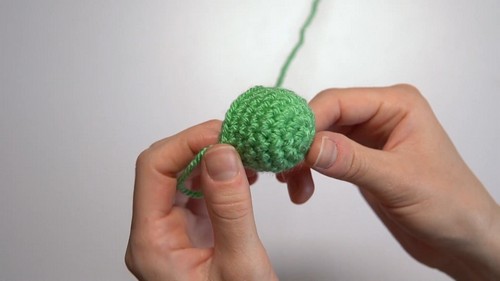
Head (Use Spearmint Green Yarn)
- Start with a magic circle of 6 stitches.
- Increase in every stitch (12 stitches).
- Single crochet and increase in every stitch around (18 stitches).
- Single crochet around for the next three rounds.
- Invisible decrease every other stitch by picking up the front loop only of the next two stitches and single crocheting them together. Repeat until you have 12 stitches.
Cut the yarn, leaving a long tail for sewing later.
Scarf (Use Vanilla Cream Yarn)
- Make a slipknot and chain 20 stitches.
- Single crochet down the chain, increase in the last stitch.
- Working on the other side of the chain, single crochet in each stitch to the last one, then increase in the last stitch.
- Cut the yarn, leaving a long tail for sewing later.
Ears
Make a slipknot and chain seven.
- Work down one side: slip stitch in the first stitch, single crochet in the next, half double crochet in the next, then double crochet in the last three stitches.
- Chain one and turn your work.
- Crochet down the other side: half double crochet in the first and second stitch, then slip stitch.
- Cut the yarn, leaving a tail for sewing later.
- Repeat to make a second ear.
Arms
Start with a magic circle of 4 stitches.
- Change to vanilla cream yarn by pulling up a loop of the new color through both green stitches.
- Increase in the first stitch and hide the tails in this stitch.
- Single crochet in the next stitch and increase in the following stitch. Single crochet in the last stitch.
- Add one more single crochet to cover the green spot; this marks the new start of the round.
- Single crochet for the next three rounds.
- Cut the tails and stuff the arm with the vanilla cream tail.
- Make a second arm following the same steps.
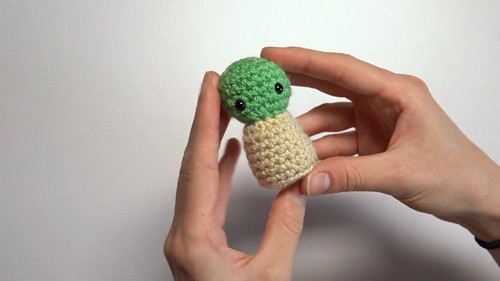
Assembly
- Place safety eyes about two rows up on the head and three holes apart, attaching the backings.
- Stuff the head with polyester stuffing. Use a tapestry needle for an invisible bind off to finish the head.
- Stuff the body and use an invisible bind-off to close. Hide the yarn tail.
- Sew the head to the body.
- Attach the ears to the head.
- Sew the pistachio green yarn onto the head for the nose.
- Wrap the scarf around the neck and secure it at the back by sewing on both sides.


Leave a Reply