Learning how to crochet the Mini Twinkle Pattern as fun and rewarding project! As the name suggests, 'Mini Twinkle' involves tiny, star-like motifs, crocheted with vibrant color. This eye-catching design can work wonders in enhancing home decor, making accessories, or creating cuddly toys. But this free pattern offers endless possibilities for unleashing your creativity and having fun making shining stars from the sky using yarn.
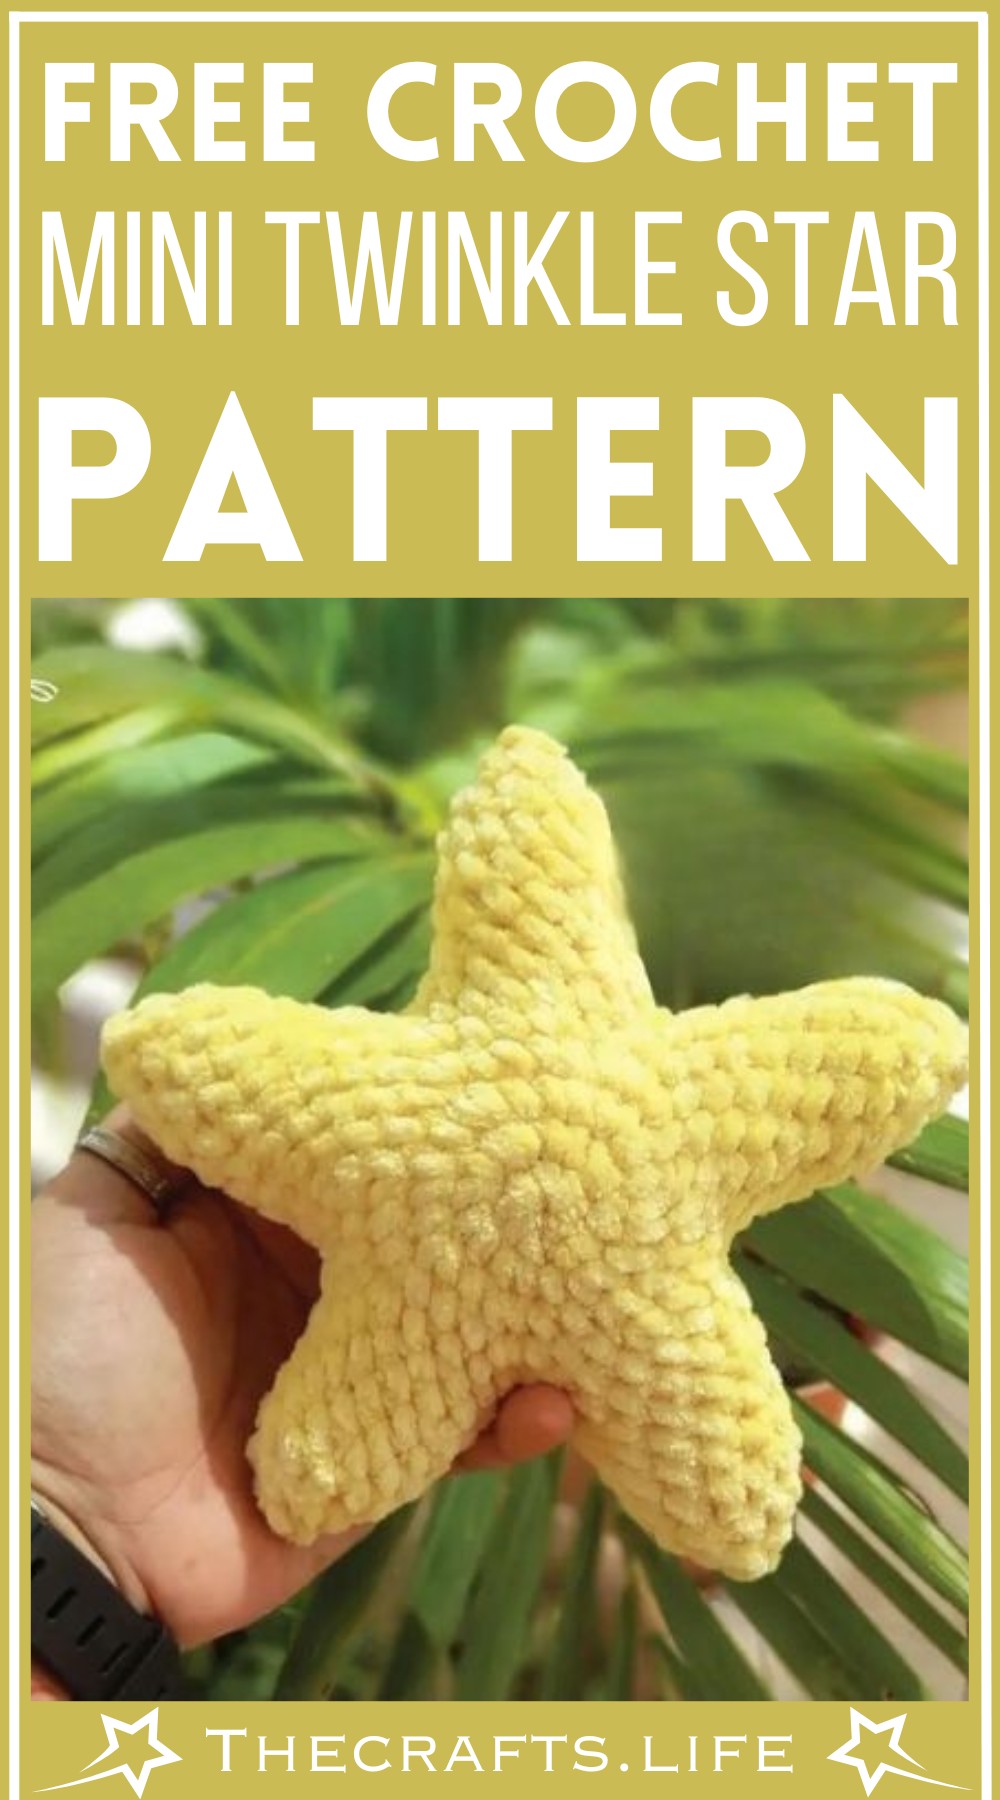
Crochet Mini Twinkle Star Amigurumi Pattern
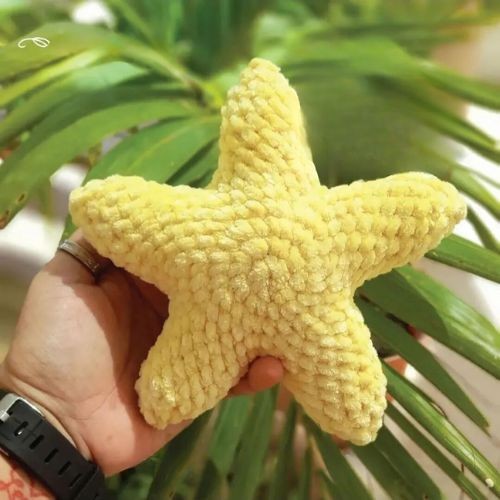
You can make this with just a bit of yarn and a crochet hook, seeing your work sparkle with tiny twinkle motifs. It's not just about crocheting; it's about bringing a little bit of magic into your creations.
For this cutie the chunkier the yarn the cuter it turns out, but as is in the photo, I used;
- 1 skein of Dollar Tree Just Chenille
- 4.50mm hook
- Stitch marker
- Yarn needle
- Scissors
- 14mm eyes (optional)
Abbreviations:
Pattern is written in US Crochet terms
- sc- single crochet
- inc- increase
- dec- decrease
- sts-stitches
- sl st-slip stich
- ch-chain
- mc-magic circle (or you could do ch 2)
- rnd-round
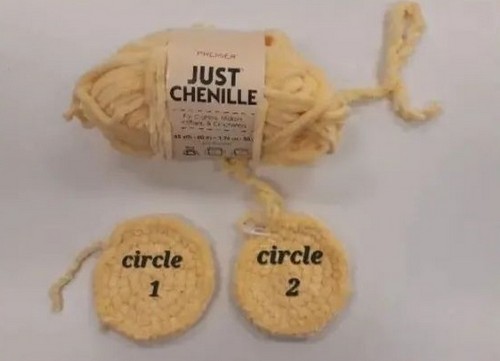
Circle (make 2)
- Rnd 1: 8sc in mc (8sc)
- Rnd 2: (inc) x8 (16sc)
- Rnd 3: (1sc, inc) x8 (24sc)
- Rnd 4: (2sc, inc) x8 (32sc)
- Rnd 5: (3sc, inc) x8 (40sc)
- f/o the first circle.
Do not f/o on your second circle...
- When you are finished with the second circle join to first circle and continue with the rays of the star.
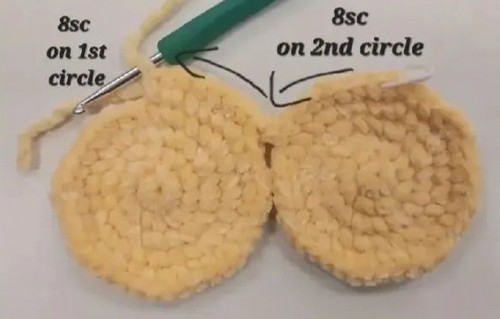
FIRST RAY
- Rnd 1:8sc on the 2nd circle, 8sc on 1st circle (16sc)
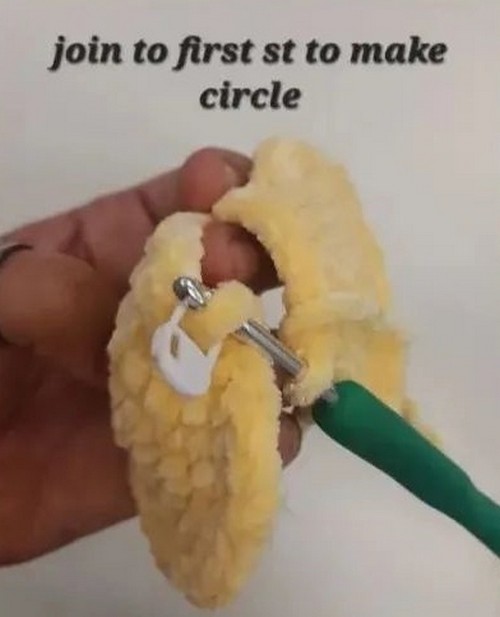
Note: Work the first stitch of rnd 2 into the first stitch of rnd 1 to form your rnd.
Join to first st to make a circle.
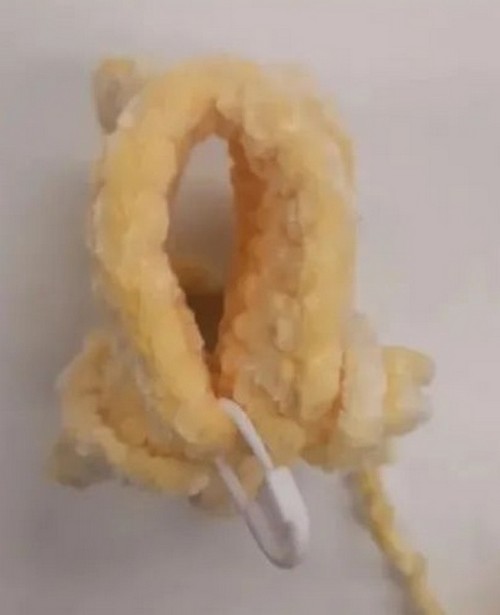
- Rnd 2: 16sc (1 rnds)
- Rnd 3: (2sc, dec) x4 (12sc)
- Rnd 4- Rnd 6: 12sc (3 rnd)
- Rnd 7: (1sc, dec) x 4 (8sc)
- Rnd 8: (dec) x4 (4sc)
- f/o and cut yarn, leave a tail for sewing the opening.
- Use your yarn needle and close the opening now.
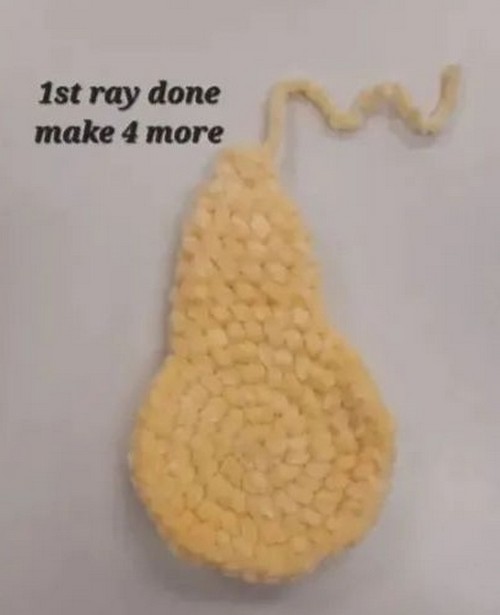
THINGS TO KEEP IN MIND.
ALL five (5) rays are made the same as the first one. As you make the rays, a space will be formed between each ray, you will close them up after you have stuffed and finished the star.
If you want to use safety eyes instead of the felt eyes, after you have finished the 3rd ray, insert they eyes between rnd 4 & rnd5, 6sts apart.
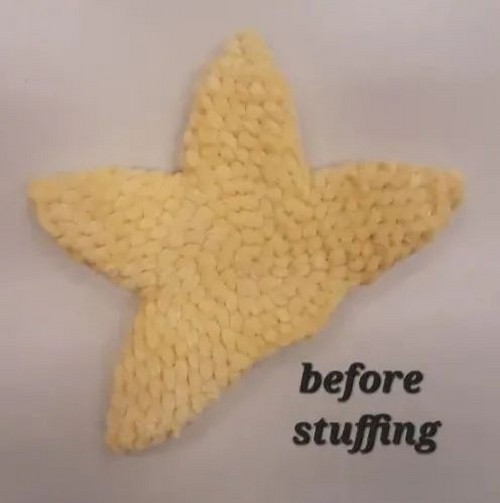
You can start stuffing after the 4th ray. Stuff generously.
For the last ray stuff, it is as you go.
Use the holes made between the rays for extra stuffing if needed.
Cut a long piece of yarn from what is left over and using your yarn needle close the openings.
Designer: Crochetbymellyboo On Instagram


Leave a Reply