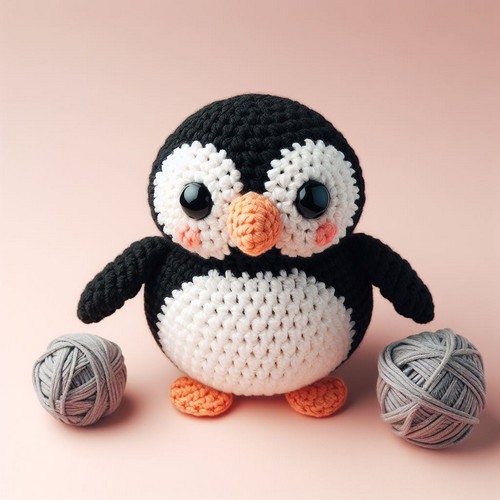
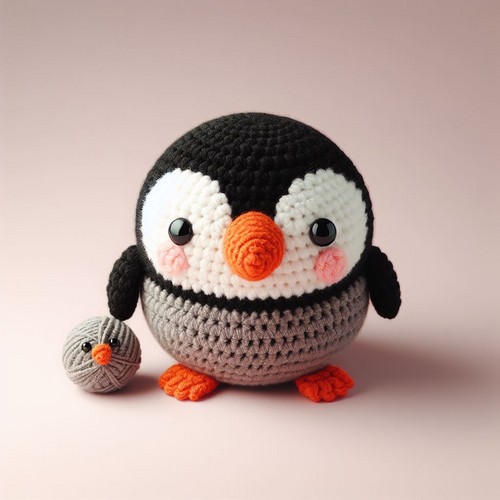
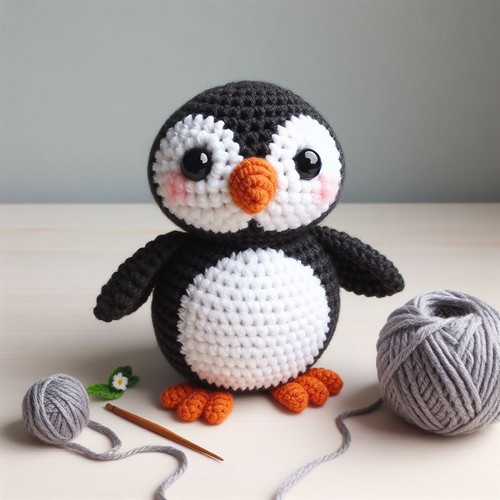
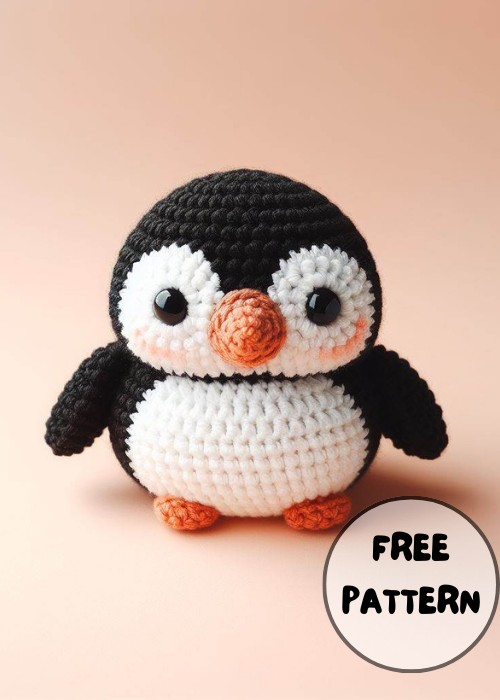
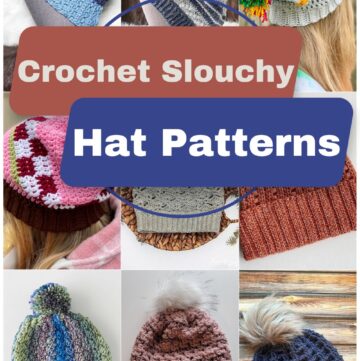
The Crochet Puffin Amigurumi Pattern is a delightful way to create a colorful and cute puffin bird. It's simple enough for crocheters of all levels. Following this pattern, you can craft a charming little puffin, making it a perfect project for those who love wildlife or want a unique gift.
Crochet Puffin Amigurumi Pattern
The Crochet Puffin Amigurumi Pattern is an enjoyable project that brings to life a colorful, plump puffin with its distinctive bright beak and contrasting black and white body. Tailored for crafters looking for a touch of nature, the pattern is straightforward, making a delightful puffin perfect for gifting or adding a bit of coastal charm to home decor. The finished item combines quaintness and charm, capturing the essence of this beloved seabird in yarn.
Making Your Crochet Puffin Amigurumi Pattern
Materials:
- Yarn in black, white, orange, and yellow colors (colors may vary depending on the specific puffin design you choose)
- Crochet hook (size depends on yarn weight)
- Stuffing
- Tapestry needle
- Scissors
Step by step Pattern
-
Body:
- Using black or white yarn (depending on your desired puffin design), crochet a magic ring and work in single crochets in a spiral, increasing stitches at the beginning of each round to create a sphere.
- Once the body is the desired size, stop increasing and crochet straight until the piece reaches the desired height.
- Stuff the body firmly as you crochet.
- Fasten off and weave in ends.
-
Head:
- Using black or white yarn (depending on your desired puffin design), crochet a magic ring and work in single crochets in a spiral, increasing stitches at the beginning of each round to create a smaller sphere than the body.
- Once the head is the desired size, stop increasing and crochet straight for a few rounds.
- Stuff the head firmly as you crochet.
- Fasten off and weave in ends.
-
Wings:
- Using black or white yarn (depending on your desired puffin design), chain a desired number of stitches to create the wing length.
- Work in single crochets back and forth, turning at the end of each row.
- Crochet for a few rows, then decrease stitches at the beginning of each row to create a triangular shape.
- Fasten off and weave in ends.
- Make another wing in the same way.
-
Tail:
- Using black or white yarn (depending on your desired puffin design), chain a desired number of stitches.
- Work in single crochets back and forth, turning at the end of each row.
- Crochet for a few rows and fasten off.
- You can also cut out a tail shape from felt and sew it onto the body.
-
Beak:
- Using orange yarn, crochet a small cone shape using single crochets. You can also start with a magic ring and increase stitches at the beginning of each round.
- Fasten off and weave in ends.
-
Feet:
- Using orange yarn, chain a few stitches and work in single crochets around the chain to create a small oval.
- Stuff the foot firmly and fasten off.
- Make another foot in the same way.
-
Facial features:
- Using black yarn or felt, embroider eyes on the head.
- You can also embroider a small smile using yellow yarn.
-
Assembly:
- Sew the head, wings, tail, beak, and feet onto the body using tapestry needle and yarn.
Leave a Reply