The Crochet Plush Bunny Lelya Amigurumi Pattern is a fun way to make a cute, soft toy bunny using yarn and a crochet hook. It's like following a map that guides you to create each part of the bunny, such as the ears, arms, and body, by knitting small loops together. This pattern is perfect for people who enjoy crafts and hand-making. Once finished, you get a cuddly bunny named Lelya, which can be a great gift or a cute addition to your collection of handmade toys.
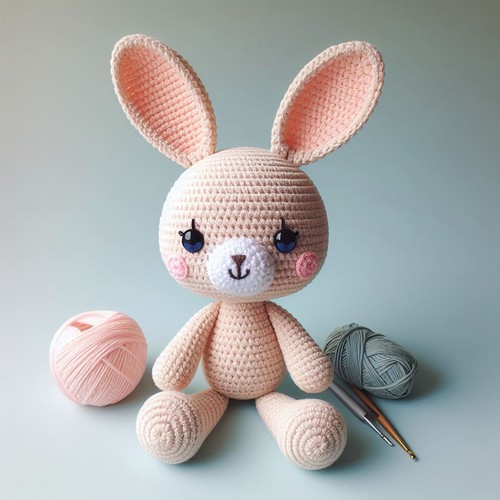
Crochet Plush Bunny Lelya Amigurumi
The Crochet Plush Bunny Lelya Amigurumi Pattern creates a soft, charming toy. With step-by-step instructions, it guides you through loops and stitches to bring Lelya to life. Made with yarn and a crochet hook, its features include adorable ears, expressive eyes, and a cozy texture. This pattern is perfect for crafters looking to make a cuddly friend.
Making Your Crochet Plush Bunny Lelya Amigurumi
Materials:
- Crochet hook (size depends on yarn weight)
- Yarn (worsted weight or similar) in 2 colors (one for the body and one for the details)
- Fiberfill for stuffing
- Yarn needle
- Safety eyes (optional)
- Embroidery thread (optional for details like whiskers)
Step By Step Pattern
Basic techniques:
- Single crochet (sc)
- Increase (inc)
- Decrease (dec)
- Magic ring (mr)
Instructions:
-
Make the head:
- Using the magic ring method, crochet 6 single crochets (sc) in the ring. Join with a slip stitch (sl st).
- Round 2: Increase in each stitch around (12 sc). Join with a sl st.
- Round 3: Increase in every other stitch around (18 sc). Join with a sl st.
- Rounds 4-7: sc around, joining each round with a sl st.
- Round 8: sc around, decreasing 6 stitches evenly spaced around (12 sc). Join with a sl st.
- Rounds 9-11: sc around, joining each round with a sl st.
- Stuff the head firmly.
- Round 12: sc around, decreasing 6 stitches evenly spaced around (6 sc). Join with a sl st. Tie off and weave in the end.
-
Make the body:
- With the other color yarn, start with a magic ring and crochet 6 sc in the ring. Join with a sl st.
- Round 2: Increase in each stitch around (12 sc). Join with a sl st.
- Rounds 3-8: sc around, joining each round with a sl st.
- Round 9: sc around, increasing 6 stitches evenly spaced around (18 sc). Join with a sl st.
- Rounds 10-14: sc around, joining each round with a sl st.
- Stuff the body firmly.
- Round 15: sc around, decreasing 6 stitches evenly spaced around (12 sc). Join with a sl st.
- Round 16: sc around, decreasing 6 stitches evenly spaced around (6 sc). Join with a sl st. Tie off and weave in the end.
-
Assemble:
- Sew the head to the body using a yarn needle and embroidery floss.
- Attach the safety eyes or embroider eyes using black embroidery floss.
- You can embroider a nose and whiskers using pink and black embroidery floss, or sew on a small pink felt nose.
-
Make the ears (make 2):
- With the body color yarn, chain 5 stitches.
- Slip stitch into the second chain from the hook to form a ring.
- Round 1: sc 3 times in the ring, chain 2, turn (4 sc).
- Round 2: sc in each stitch around, chain 2, turn (4 sc).
- Round 3: sc in the first 2 stitches, 2 sc in the chain space, sc in the next 2 stitches (6 sc).
- Round 4: sc in each stitch around (6 sc).
- Round 5: sc in the first stitch, 2 sc in the next stitch, sc in each of the next 3 stitches (8 sc).
- Round 6: sc in each stitch around (8 sc).
- Stuff the ear lightly.
- Round 7: sc in the first 2 stitches, decrease, sc in each of the next 4 stitches, decrease (6 sc).
- Round 8: sc in each stitch around (6 sc).
- Tie off and weave in the end.
- Sew the ears to the head.
Optional details:
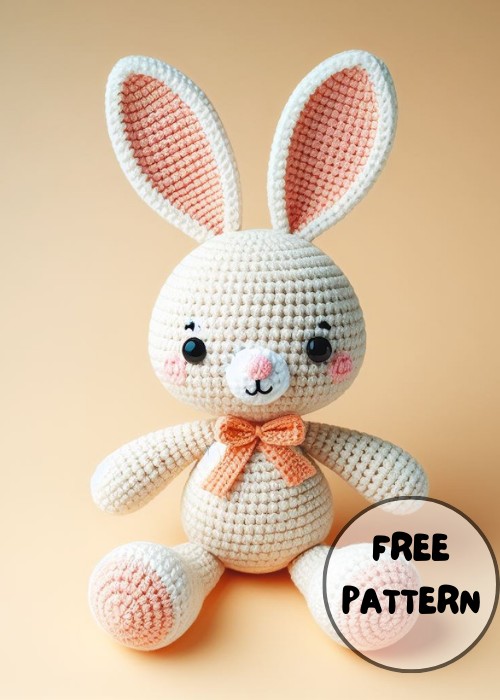
- You can add a small carrot made from orange yarn or felt.
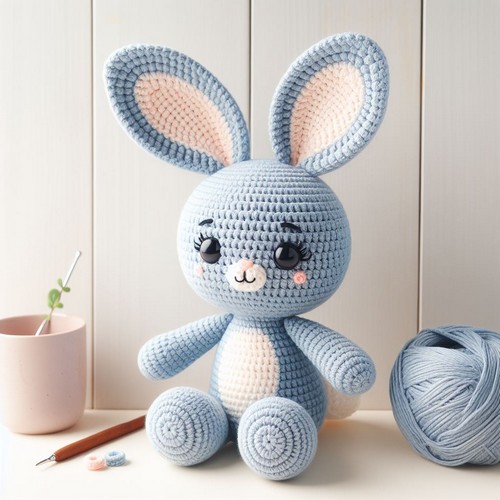
- You can add a blue waistcoat made from blue yarn.

Leave a Reply