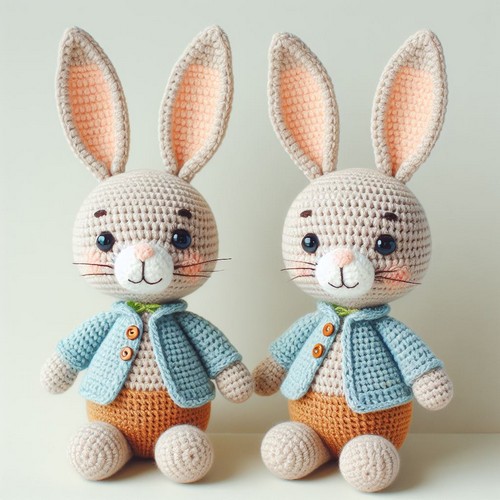
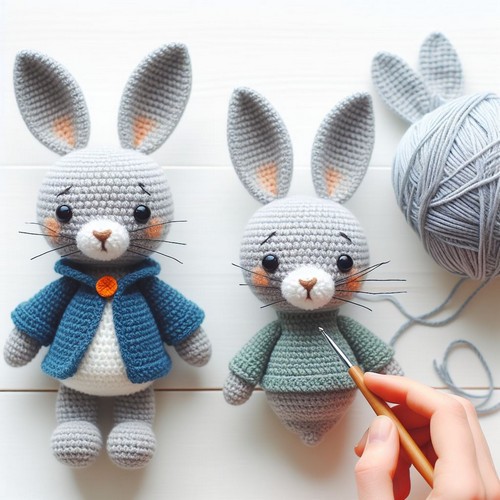
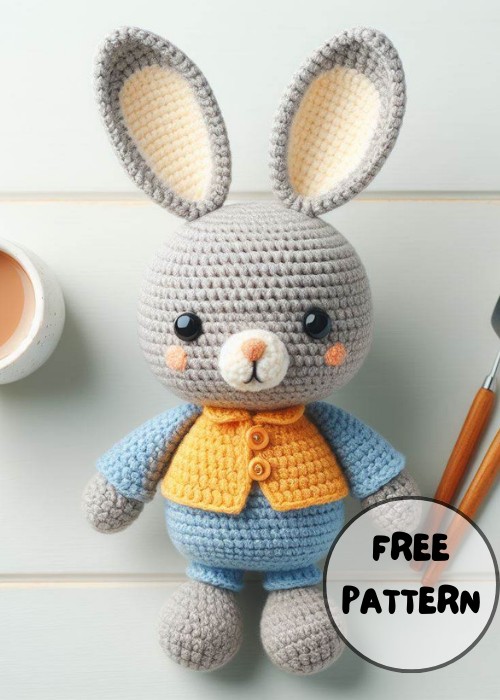
The Crochet Peter Rabbit Amigurumi Pattern is a delightful tutorial that guides craft lovers in creating a charming Peter Rabbit doll using crochet techniques. Following the pattern's steps, you'll bring to life a small, soft, and adorable stuffed toy that resembles the beloved children's character. Peter Rabbit. With just a couple of crochet hooks, some yarn, and some enthusiasm, this pattern opens up a world of creativity and relaxation while you immerse yourself in the world of amigurumi.
Making Your Crochet Peter Rabbit Amigurumi Pattern
Materials:
- Crochet hook (size depends on yarn weight)
- Yarn (worsted weight or similar) in 2 colors (one for the body and one for the details)
- Fiberfill for stuffing
- Yarn needle
- Safety eyes (optional)
- Embroidery thread (optional for details like whiskers)

Step By Step Pattern
Basic techniques:
- Single crochet (sc)
- Increase (inc)
- Decrease (dec)
- Magic ring (mr)
Instructions:
-
Make the head:
- Using the magic ring method, crochet 6 single crochets (sc) in the ring. Join with a slip stitch (sl st).
- Round 2: Increase in each stitch around (12 sc). Join with a sl st.
- Round 3: Increase in every other stitch around (18 sc). Join with a sl st.
- Rounds 4-7: sc around, joining each round with a sl st.
- Round 8: sc around, decreasing 6 stitches evenly spaced around (12 sc). Join with a sl st.
- Rounds 9-11: sc around, joining each round with a sl st.
- Stuff the head firmly.
- Round 12: sc around, decreasing 6 stitches evenly spaced around (6 sc). Join with a sl st. Tie off and weave in the end.
-
Make the body:
- With the other color yarn, start with a magic ring and crochet 6 sc in the ring. Join with a sl st.
- Round 2: Increase in each stitch around (12 sc). Join with a sl st.
- Rounds 3-8: sc around, joining each round with a sl st.
- Round 9: sc around, increasing 6 stitches evenly spaced around (18 sc). Join with a sl st.
- Rounds 10-14: sc around, joining each round with a sl st.
- Stuff the body firmly.
- Round 15: sc around, decreasing 6 stitches evenly spaced around (12 sc). Join with a sl st.
- Round 16: sc around, decreasing 6 stitches evenly spaced around (6 sc). Join with a sl st. Tie off and weave in the end.
-
Assemble:
- Sew the head to the body using a yarn needle and embroidery floss.
- Attach the safety eyes or embroider eyes using black embroidery floss.
- You can embroider a nose and whiskers using pink and black embroidery floss or sew on a small pink felt nose.
-
Make the ears (make 2):
- With the body color yarn, chain 5 stitches.
- Slip stitch into the second chain from the hook to form a ring.
- Round 1: sc 3 times in the ring, chain 2, turn (4 sc).
- Round 2: sc in each stitch around chain 2, turn (4 sc).
- Round 3: sc in the first 2 stitches, 2 sc in the chain space, sc in the next 2 stitches (6 sc).
- Round 4: sc in each stitch around (6 sc).
- Round 5: sc in the first stitch, 2 in the next stitch, sc in each of the next 3 stitches (8 sc).
- Round 6: sc in each stitch around (8 sc).
- Stuff the ear lightly.
- Round 7: sc in the first 2 stitches, decrease, sc in each of the next 4 stitches, decrease (6 sc).
- Round 8: sc in each stitch around (6 sc).
- Tie off and weave in the end.
- Sew the ears to the head.
Optional details:
- You can add a small carrot made from orange yarn or felt.
- You can add a blue waistcoat made from blue yarn.


Leave a Reply