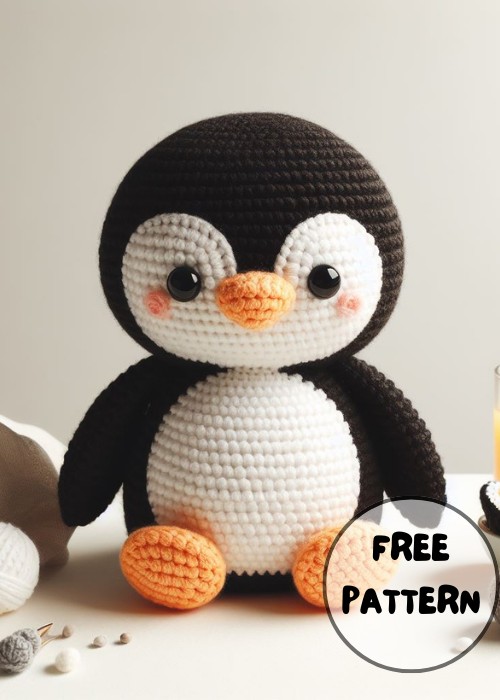
The Crochet Penguin Pipo Amigurumi Pattern is an adorable guide to creating your own cuddly penguin friend named Pipo. Even if you're new to crocheting, this pattern is straightforward and enjoyable, resulting in a cute penguin perfect for gifting or as a cheerful companion for yourself.
Crochet Penguin Pipo Amigurumi Pattern
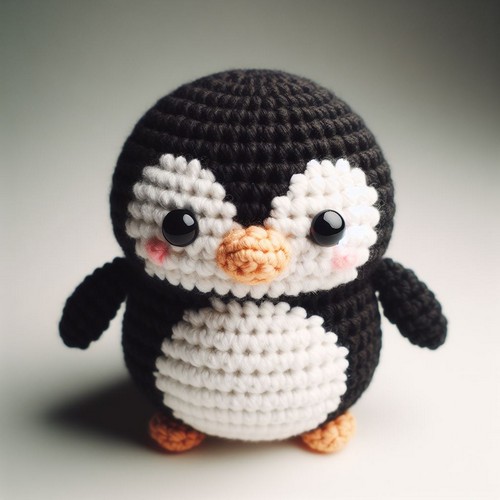
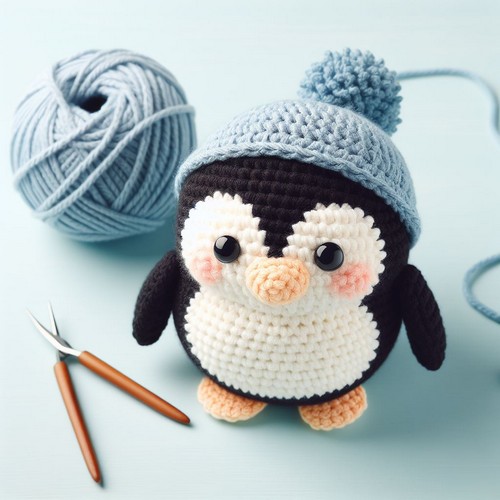
The Crochet Penguin Pipo Amigurumi Pattern allows you to make a round, endearing penguin named Pipo. With the pattern's clear directions, users craft Pipo in classic penguin colors, complete with a cute hat and scarf. Pipo exudes charm with his plump shape, large eyes, and cheerful accessories. Once finished, he makes a delightful winter-themed toy, perfect for youngsters or a decorative piece that adds warmth to any room.
Making Your Crochet Penguin Pipo Amigurumi
Materials:
- Black and white yarn
- Orange yarn (small amount)
- Crochet hook (size depends on yarn weight)
- Stuffing
- Tapestry needle
- Scissors
Step by step Pattern
Body:
-
- Using black yarn, crochet a magic ring and work in single crochets in a spiral, increasing stitches at the beginning of each round to create a sphere.
- Once the body is the desired size, stop increasing and crochet straight for a few rounds.
- Stuff the body firmly as you crochet.
- Fasten off and weave in ends.
-
Head:
- Using black yarn, crochet a magic ring and work in single crochets in a spiral, increasing stitches at the beginning of each round to create a smaller sphere than the body.
- Once the head is the desired size, stop increasing and crochet straight for a few rounds.
- Stuff the head firmly as you crochet.
- Fasten off and weave in ends.
-
Belly:
- Using white yarn, crochet a small oval shape using single crochets. You can start with a chain of stitches and crochet back and forth, or use the foundation single crochet method.
- Sew the white belly onto the front of the body.
-
Wings:
- Using black yarn, chain a few stitches (around 5-6 stitches for this size).
- Single crochet back and forth along the chain for a few rows, shaping the wing with slight decreases at the end of each row to create a triangular shape.
- Fasten off and weave in ends.
- Make another wing in the same way.
- Sew the wings onto the sides of the body.
-
Feet:
- Using black yarn, chain a few stitches (around 3-4 stitches for this size).
- Slip stitch the ends together to create a ring.
- Work in single crochets around the ring for a few rounds, increasing stitches at the beginning of each round to create a small cone shape.
- Fasten off and weave in ends.
- Make another foot in the same way.
- Sew the feet onto the bottom of the body.
-
Beak:
- Using orange yarn, crochet a small cone shape using single crochets. You can start with a magic ring and increase stitches at the beginning of each round.
- Fasten off and weave in ends.
- Sew the beak onto the face.
-
Eyes:
- Using black yarn, embroider small circles on the face for eyes.
Tips:
- You can adjust the size of the penguin by using different yarn weights and crochet hook sizes.
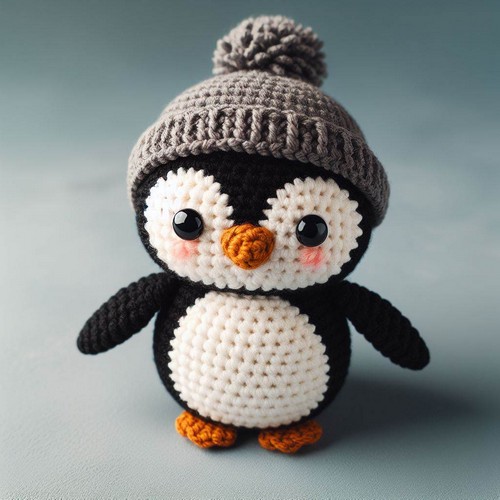
- You can also add other details to your penguin, such as a scarf or a hat.
- Be sure to stuff the penguin firmly so it keeps its shape.

Leave a Reply