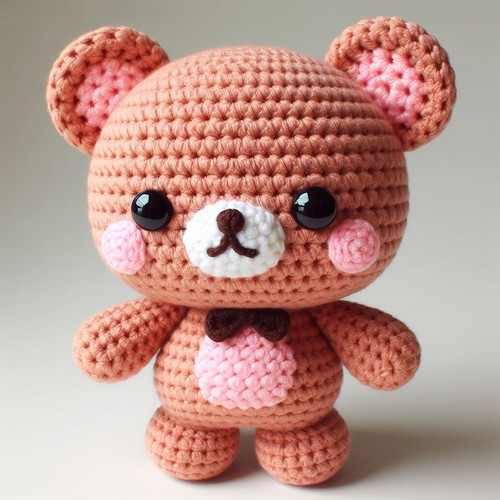
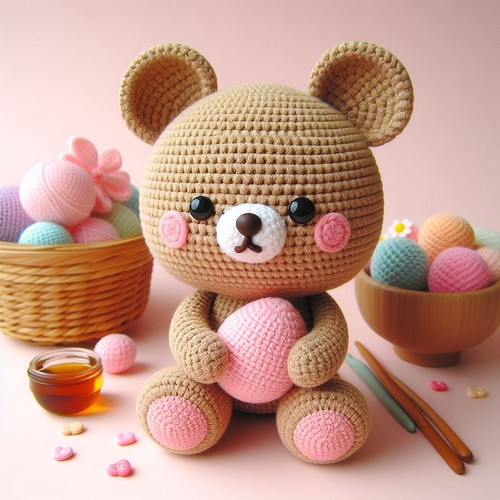
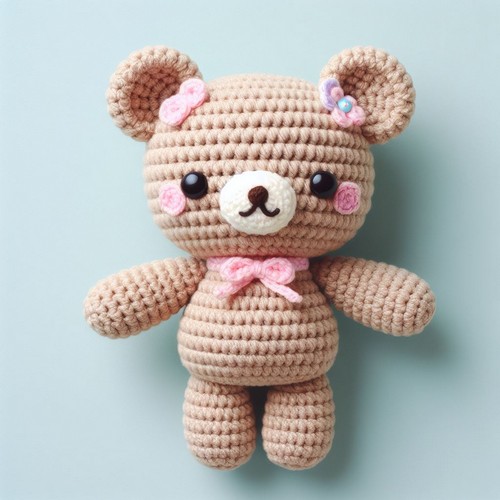
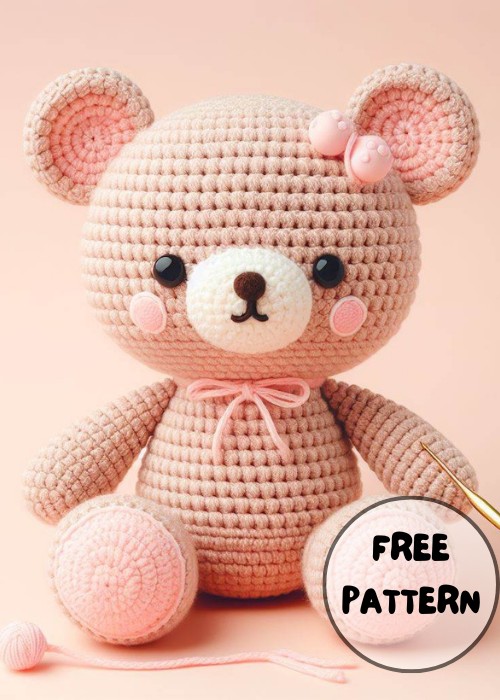
The Crochet Binky The Bear Amigurumi Pattern allows you to create your very own cuddly bear toy named Binky. This user-friendly guide ensures crafters can enjoy making a soft, huggable bear. Ideal for gifting, decor, or as a cherished stuffed friend for kids.
Crochet Binky The Bear Amigurumi Pattern
The Crochet Binky The Bear Amigurumi Pattern is a charming blueprint to create a soft cuddly stuffed toy. This yarn bear showcases a sweet face, round belly, and stubby limbs. Simple to create, thanks to its beginner-friendly directions, Binky is a great crafting adventure. Once complete, this bear can serve as a child’s trusted companion, a thoughtful handmade gift, or simply a cute addition to a home's cozy decor.
Materials Needed:
- Yarn in brown, beige, and a small amount of black for the nose and eyes (if embroidered)
- A crochet hook suitable for your yarn (A size smaller than recommended on the yarn label works well for amigurumi to keep stitches tight)
- Safety eyes (around 8mm, but choose what looks best with your bear)
- Polyester stuffing
- Tapestry needle
- Stitch marker
Abbreviations:
- ch: chain
- sc: single crochet
- inc: increase (2 sc in one stitch)
- dec: invisible decrease (decrease over the front loops only)
- sl st: slip stitch
- st(s): stitch(es)
- [ ]: Repeat instructions within brackets the number of times specified
Step by step Pattern
Head: Magic ring, 6 sc inside ring. (6)
[inc] around. (12)
[1 sc, inc] around. (18)
[2 sc, inc] around. (24)
[3 sc, inc] around. (30)
[4 sc, inc] around. (36)
[5 sc, inc] around. (42)
8-14. sc around. (42)
Place safety eyes between rounds 11 and 12, about 6 sts apart.
[5 sc, dec] around. (36)
[4 sc, dec] around. (30)
[3 sc, dec] around. (24)
Start stuffing; continue stuffing as you work.
[2 sc, dec] around. (18)
Finish stuffing the head firmly.
Body: [1 sc, inc] around. (27)
[2 sc, inc] around. (36)
[3 sc, inc] around. (45)
22-27. sc around. (45)
[3 sc, dec] around. (36)
[2 sc, dec] around. (27)
[1 sc, dec] around. (18)
Stuff the body firmly.
[dec] around. (9) Close off, leaving a tail for sewing if needed.
Ears (make 2, in brown):
Magic ring, 6 sc. (6)
[inc] around. (12)
[1 sc, inc] around. (18)
4-6. sc around. (18)
[1 sc, dec] around. (12)
Flatten and don't stuff. Sew ears to the top of the head.
Arms (make 2, start with beige for the paws and switch to brown):
Start with beige: Magic ring, 6 sc. (6)
[inc] around. (12)
3-4. sc around. (12) Switch to brown at the end of round 4.
5-14. sc around in brown. (12)
Stuff lightly. Sew to the sides of the body.
Legs (make 2, start with beige for the feet and switch to brown):
Start with beige: Magic ring, 6 sc. (6)
[inc] around. (12)
[1 sc, inc] around. (18)
sc in back loops only around. (18)
5-6. sc around in beige, then switch to brown yarn. (18)
7-11. sc around in brown. (18)
Stuff and attach to the bottom of the body.
Snout (with beige):
Magic ring, 6 sc. (6)
[inc] around. (12)
[1 sc, inc] around. (18)
4-6. sc around. (18)
[1 sc, dec] around. (12)
Stuff slightly. Sew to the face below the eyes. Add the nose and mouth with black yarn.
Tail (with brown):
Magic ring, 6 sc. (6)
[inc] around. (12)
sc around. (12)
[1 sc, dec] around. (8)
5-6. sc around. (8)
Stuff lightly if at all. Sew to the back of the body.
Final Assembly:
Ensure all parts are securely attached. Use the tapestry needle for sewing and weaving in all loose ends. Place the facial features (eyes, nose, and mouth) appropriately, referring to reference photos of the bear for a natural look.


Leave a Reply