The Crochet Bear Nina Amigurumi Pattern is a heartwarming guide for crafting a lovable bear named Nina. Ideal for crochet enthusiasts, this pattern makes creating a soft, huggable friend simple and enjoyable. Whether for a special gift or a cozy addition to any collection, Nina is sure to delight.
Crochet Bear Nina Amigurumi Pattern
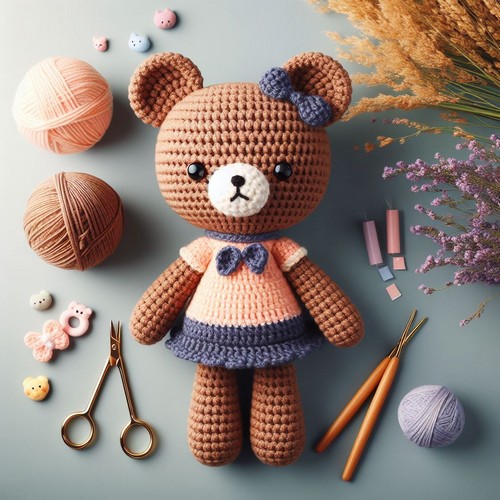
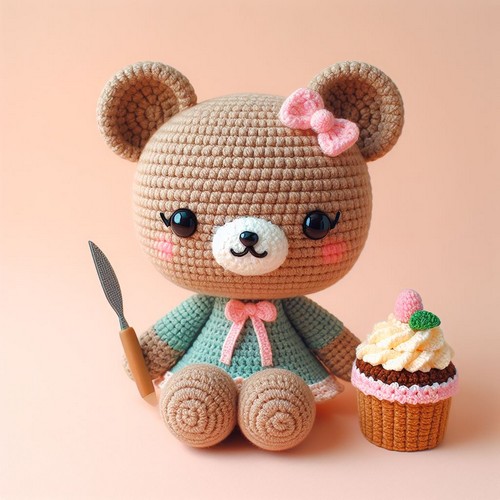
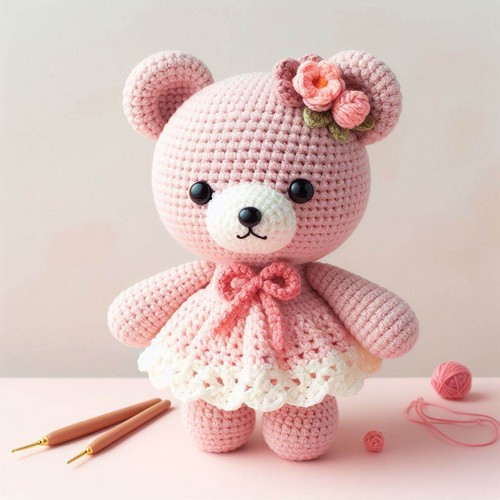
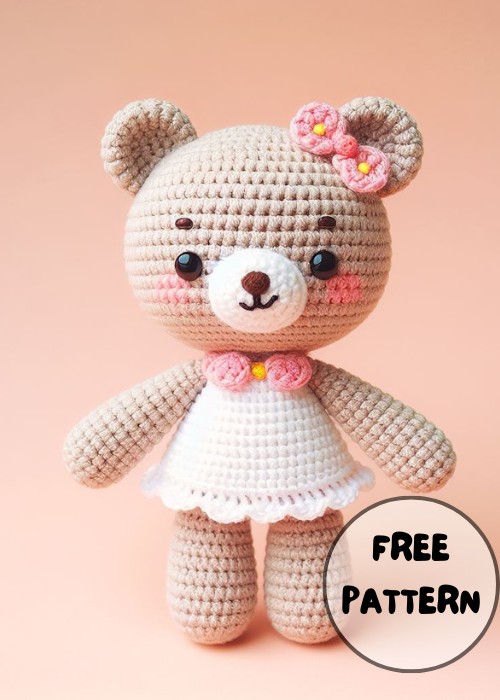
The Crochet Bear Nina Amigurumi Pattern produces a cozy, plump bear, Nina, with expressive eyes, a striking bow, and petite rounded limbs. This simple and clear pattern is a delight for beginners and advanced crafters. The end product, Nina, is perfect as a cuddly companion for children or a decorative piece that adds whimsical warmth to any setting, making it a favorite for all bear enthusiasts.
Making Your Bear Nina Amigurumi Pattern
Materials Needed:
- Yarn in your choice of colors for the body, muzzle, and any additional details
- Crochet hook suitable for the yarn (usually a smaller hook than recommended for tighter stitches)
- Fiberfill or stuffing
- Safety eyes or embroidery thread for eyes
- Yarn needle
- Stitch markers
- Basic Amigurumi Bear Pattern Steps:
Step by step Pattern
Head and Body:
Start with a magic ring.
Work in the round, increasing stitches each round until you reach the desired width for the head.
Continue without increasing to create the sides of the head.
Insert safety eyes or embroider them on, usually between rows 10-12.
Start decreasing to close up the head, stuffing firmly as you go.
Once the head is closed, continue crocheting to form the neck and body, increasing where needed to make the body larger than the head.
Work even rounds for the length of the body.
Decrease to close up the body, stuff before completely closing.
Ears (make 2):
Begin with a magic ring.
Increase in each round until the ear is the desired size.
Flatten the ears and sew them onto the sides of the head at an appropriate height.
Arms (make 2):
Start with a magic ring.
Work in the round with increases and then even rounds to create a tube.
Stuff lightly and leave a long tail for sewing.
Sew onto each side of the body.
Legs (make 2):
Begin the same as the arms with a magic ring.
Increase and then crochet several rounds even.
You can choose to flatten the legs and not stuff them or stuff them lightly.
Sew to the bottom of the body.
Muzzle:
Start with a magic ring.
Increase to desired size, usually a few rounds.
Sew it onto the face, and add embroidery for the nose and mouth.
Tail:
Crochet a small ball or tube and sew it to the back of the body.
Finishing Touches:
Embroider any additional facial features.
Sew on a bowtie, clothes, or other accessories as desired.

Leave a Reply