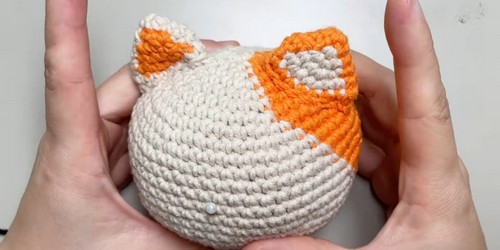
This crochet amigurumi cat keychain pattern is a fun and charming project that you can complete in just a few hours. Using colorful yarns and basic crochet stitches, you'll create a cute little cat that can attach to your keys or decorate a bag.
Crochet Amigurumi Cat Keychain Pattern
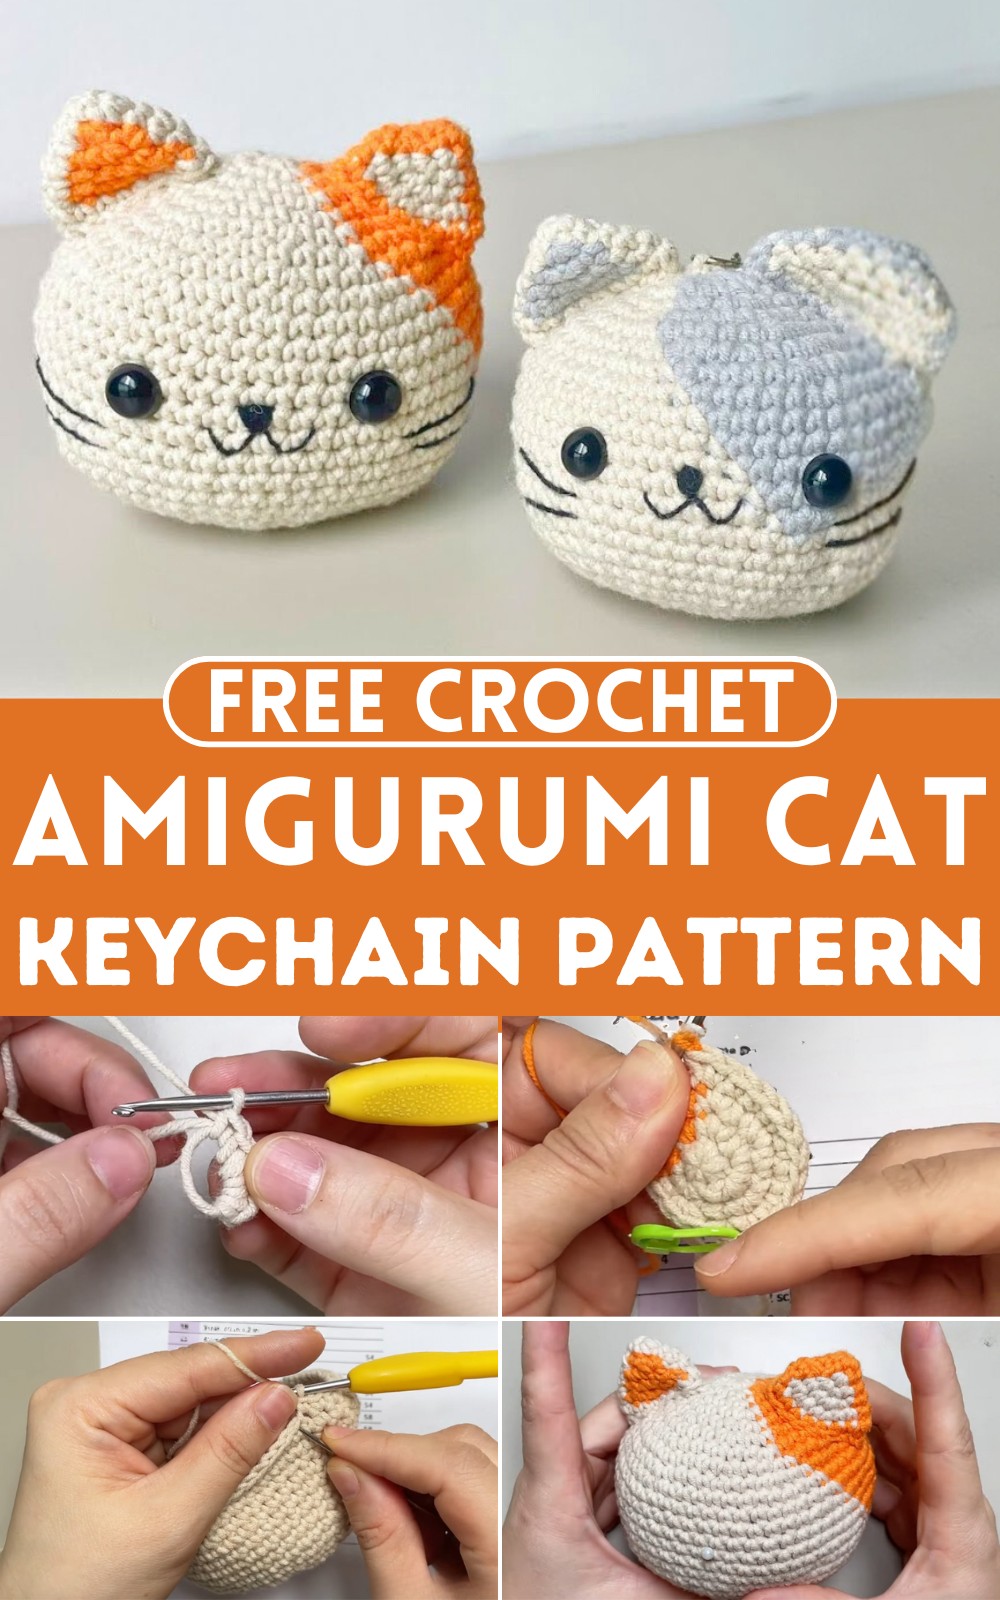
It starts with a magic circle and increases gradually to form the head and body, and then you'll crochet small ears and a tail to add on. Personalize your cat with different colors and facial features, making each one unique. It's a delightful craft that's great for giving as gifts or keeping for yourself!
Materials Needed:
- 5 ply cotton yarn in beige and orange
- Crochet hooks: 2.5 mm and 3 mm
- Stitch markers
- Scissors
- Yarn needle
Base (Both Sizes):
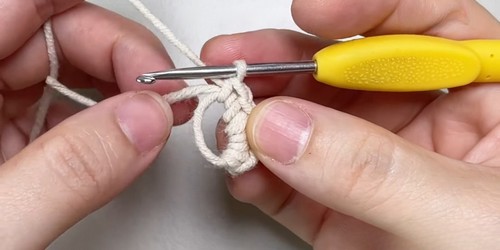
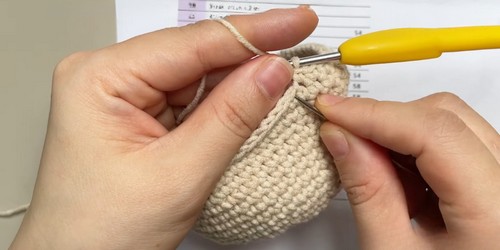
- Magic Ring: Start with a beige yarn. Make a magic ring, and work 6 single crochets (sc) into the ring. Pull the tail to tighten the ring.
- Round 1: Slip stitch to join the first stitch. Then, chain 1. This round will increase from 6 to 12 stitches by making 2 sc in each stitch around.
- Start with beige, make 2 sc in the first six stitches, switching to orange yarn to complete the remaining stitches in the round in the same manner.
- Round 2: Chain 1 to start. Alternate between 1 sc in the next stitch and 2 sc in the following stitch, with color changes as described in the video.
Round 3: Continue the pattern as set in the previous rounds, increasing the number of stitches between increases as the rounds progress, and following the color changes indicated.
Body Shaping:
- Rounds 4-18: Follow the pattern's established increase method, altering colors as needed until the body is formed.
At the end of round 18, you should have 58 stitches.
Decreasing for Shape:
- Round 19: Begin decreasing as instructed, reducing four stitches evenly around the round.
- Continue decreasing in subsequent rounds as per the video instructions until the closure of the cat's body.
Finishing Touches:
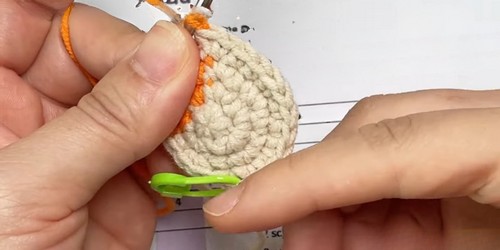
- Ears: Crochet two ears with specified color changes and attach them to the head.
- Face: Embroider the nose, mouth, and attach the eyes between rounds 13 and 14, as shown.
- Whiskers: Add whiskers one round below the eyes.
- Assembly: Sew all parts together as directed.
Optional: Add a keychain loop at the top if desired.


Leave a Reply