Making a crochet teddy bear, also known as Amigurumi, is a fun and creative way to bring a cute little bear to life with your own hands. You start with soft yarn, turning it into different parts like the bear's body, head, arms, and legs with a crochet hook.
Crochet Teddy Bear Amigurumi Pattern
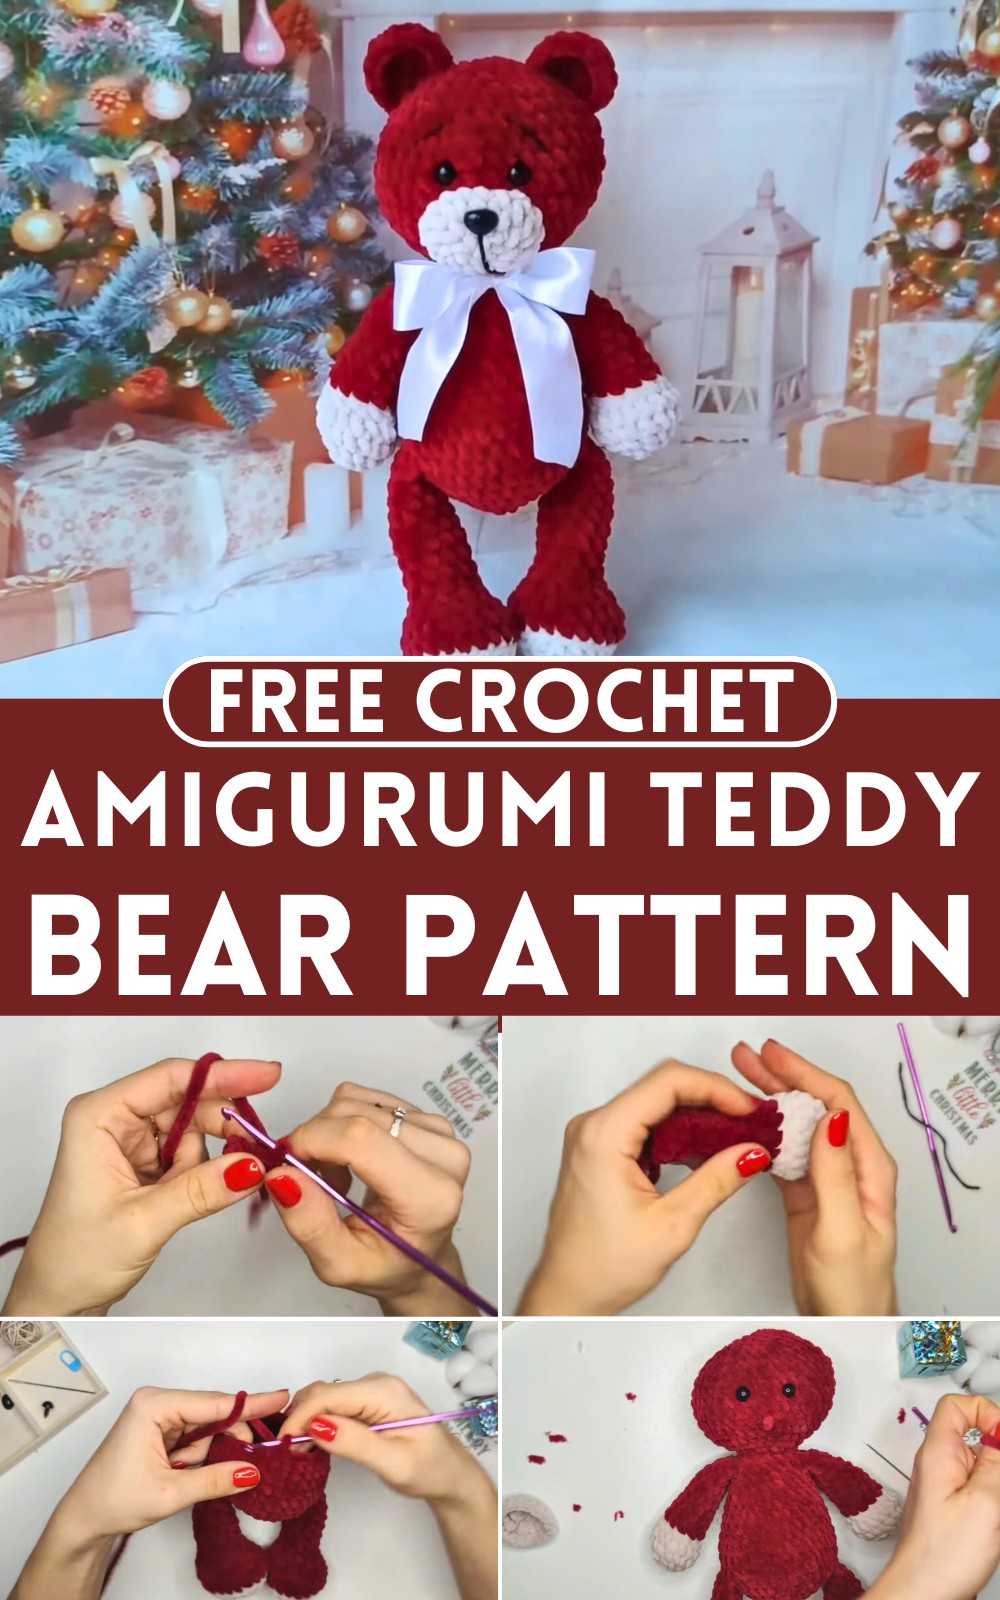
Along the way, you fill each piece with stuffing to make your bear huggable. Then, you stitch on a friendly face, attaching shiny eyes and a cute little nose. The process is like a cozy crafting adventure, where each step adds personality to your teddy bear, ending with a cuddly companion you've made all by yourself.
Materials Needed
- Plush yarn: less than one skein (120 meters/100 grams)
- Additional color yarn: around 20 grams cotton yarn
- Fiber fill for stuffing
- Scissors
- Glue
- Crochet hook: 4 millimeter
- Needle marker
- Thread
- Lighter
- Beads or plastic eyes: safety plug 10 millimeters
- Plastic nose: 10 to 7 millimeters
Crocheting the Tail

Start with a magic ring and crochet 6 single crochet (sc).
- Perform 6 increases to have 12 sc at the end of this round.
- Next round, [crochet 3 sc and 1 increase] repeat thrice for a total of 15 sc.
- Following that, [3 sc and decrease] repeated thrice to have 12 sc.
- Crochet 5 decreases, finish with a slip stitch, cut the yarn, and clean up end tails.
- Add some fiber fill as stuffing.
Crocheting the Ears

Begin with a magic ring and 6 sc.
- Then 6 increases (two sc in each stitch) to get 12 stitches.
- Place the marker. [3 sc and 1 increase] repeated thrice to total 15 stitches.
- In the first stitch of the next round, do 1 slip stitch, cut the yarn, leave a tail.
- Repeat steps for the second ear.
Crocheting the Muzzle

Using the additional color yarn, start with a magic ring and 6 sc.
- Proceed with 6 increases for 12 stitches total.
- Next round: [1 sc increase] six times to reach 18 stitches.
- Crochet 18 sc.
- Conclude with a slip stitch, cut the yarn.
Crocheting the Arms and Legs
Arms
- With additional color yarn, start with 6 sc.
- Next round: 6 increases for 12 stitches.
- Place the marker, then [1 sc increase] six times for 18 stitches.
- Crochet 18 sc, then [1 sc and decrease] six times.
- Without completing the last sc, switch to the main color yarn.
- Work only in back loops, crochet 12 sc.
- Fix tail ends and the color change point, continue crocheting for 3 rounds of 12 sc each.
- Fill with fiber fill, mark the spot, and start decreasing after 10 sc.
- Round down to 10 sc, remove the marker, add more fiber fill if needed.
- Fold sides, crochet 4 sc through both layers, finish with a slip stitch.
- Repeat for the second arm.

Legs
- With additional color yarn, start with 5 chains.
- From the second chain, [increase, 1 sc, 1 sc, increase (with 3 sc)].
- Turn and crochet [1 sc, 1 sc, last stitch].
- Next round: [3 sc and increase] repeated thrice.
- [3 sc and decrease] repeated thrice.
- 5 decreases, finish with a slip stitch, cut the yarn, stuff with fiber fill.
(Repeat of ear and muzzle instructions seems to be a mistake in the original text and has been omitted here.)
Note: The body instruction seems to be incomplete and might be missing finishing steps like how to attach the head, ears, tail, and muzzle to create the final bear.
Crocheting the Body, Head, Arms, and Legs
- Work with the main color yarn and magic ring, start with 6 sc.
- In the second round, perform 6 increases for 12 sc.
- Incorporate legs into the body by joining them with 6 sc.
- Follow by crocheting the second leg the same way and continue with 6 sc.
- Next two rounds: crochet 36 sc in each round.
- Start the following round with decreasing patterns (4 sc, decrease) until you have 30 sc.
- Crochet two rounds of 30 sc each.
- In the new round, [3 sc and decrease] repeated to total 24 sc.
- Crochet two rounds of 24 sc each.
- Stuff the body with fiber fill, allowing the bear's stomach to form correctly.
- Decrease pattern [2 sc decrease] six times for 18 sc.
- Crochet 18 sc without changes.
- Next, attach the arms under the legs using 4 sc.
- Verify the positioning and aesthetics, then crochet five sc between arms.
Finishing the Bear
Please note that some steps from the original text were excluded due to repetition or missing context. It's also necessary to finalize the instructions for assembling all pieces (head, ears, tail, muzzle, arms, and legs) and adding features like the eyes and nose to complete the bear.


Leave a Reply