Craft a charming Crochet Amigurumi Little Elephant with round body and floppy ears. Perfect for beginners and gifts!
Crochet Amigurumi Little Elephant
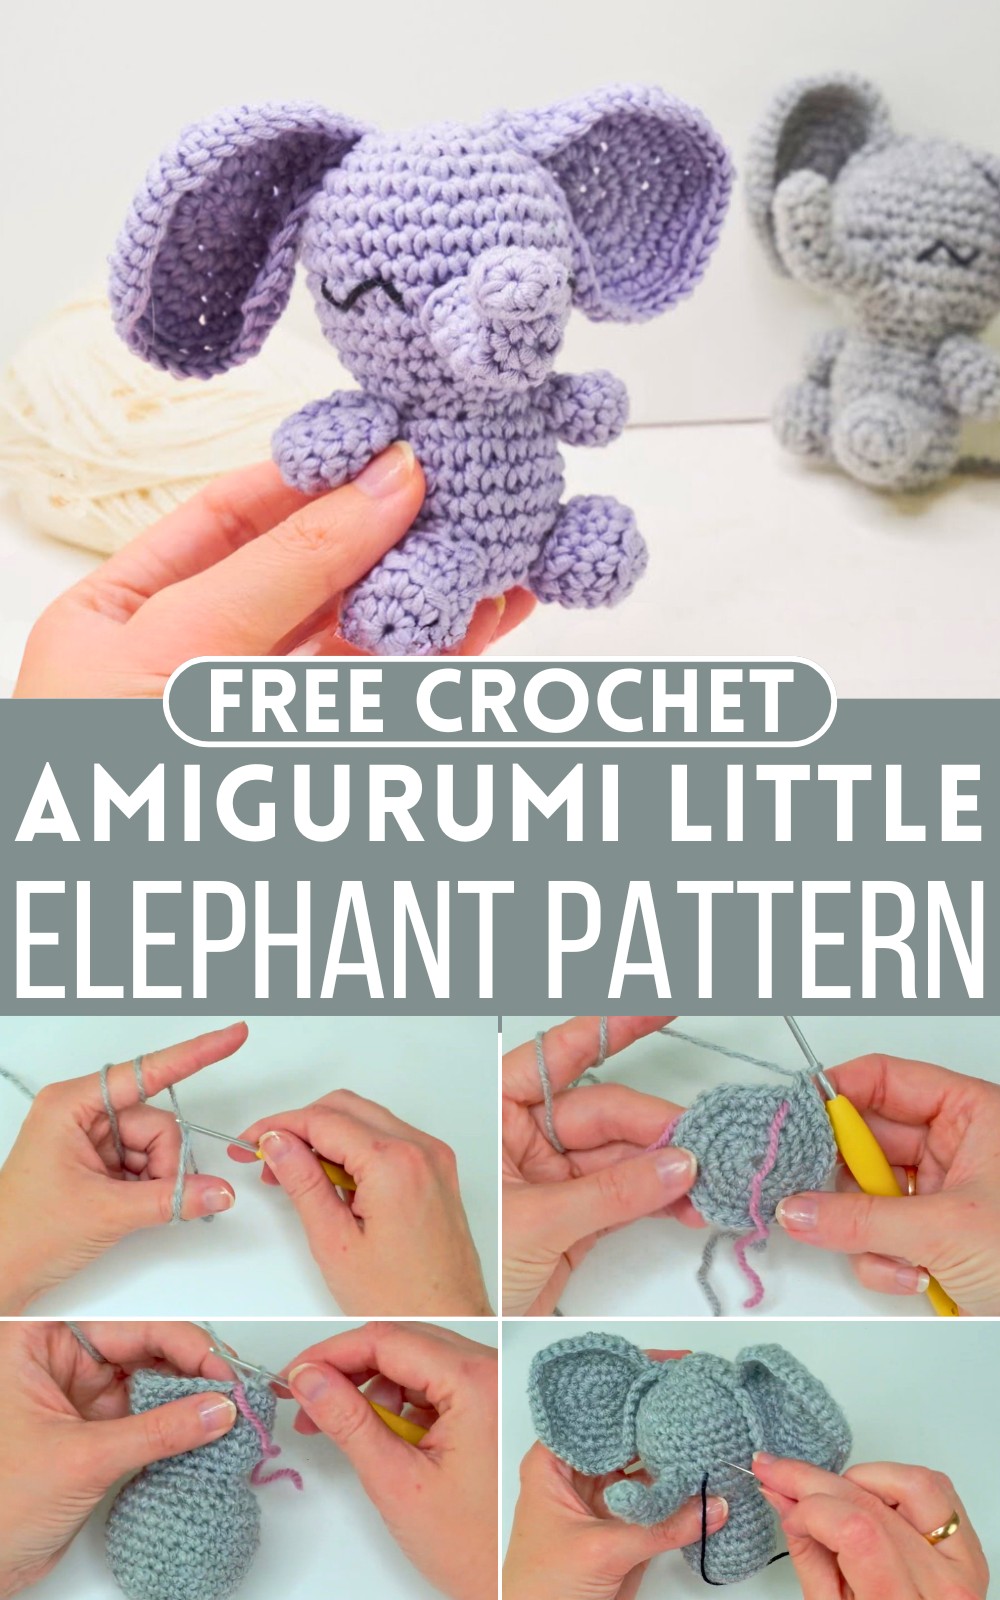
Sweet, small, and full of charm—this Crochet Amigurumi Little Elephant Pattern is a joy to create and cherish. With its round body, floppy ears, and tiny trunk, this adorable elephant has a soft and huggable design. The compact size adds to its cuteness, making it easy to carry or display. Whether as a handmade toy or a thoughtful present, this little elephant brings warmth and happiness. With beginner-friendly stitches and clear instructions, it’s a fun and rewarding crochet project for all crochet lovers!
Why Love This Pattern?
- Beginner-Friendly: The pattern is easy to follow and great for beginners. The video includes step-by-step instructions for sewing body parts and embroidering eyes.
- Flexible: Options are provided for customizing your amigurumi elephants, such as using safety eyes or embroidered eyes to make them child-friendly.
- Adaptable Technique: The techniques used for this elephant can be adapted for creating other animals, adding more versatility to your crochet skills.
- Additional Resources: The creator provides written instructions on their blog and offers PDF patterns for purchase on Etsy, allowing for more detailed and varied pattern collections.
- Practical Tips: Practical tips are provided throughout the video, such as how to stuff your amigurumi properly and how to handle increases and decreases.

Amigurumi Elephant Crochet Pattern
Materials Needed:
- Acrylic yarn or cotton yarn
- 2.5 mm crochet hook
- Filling materials
- Scissors
- Tapestry needle
- Optionally: Safety eyes instead of embroidered eyes
Abbreviations:
- ch: Chain
- sc: Single Crochet
- inc: Increase (2 sc in the same stitch)
- dec: Decrease
- st: Stitch
Body and Head:
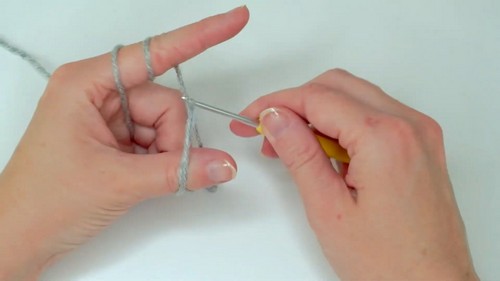
- Magic Ring:
- Start with a magic ring.
- Ch 1 to secure the ring.
- Round 1:
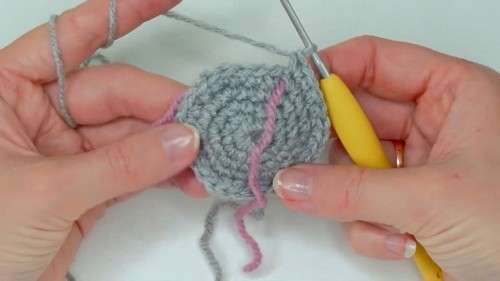
- 6 sc in the magic ring. Pull tight to close. (6)
- Round 2:
- Inc in every st around. (12)
- Round 3:
- 1 sc, inc repeat around. (18)
- Round 4:
- 2 sc, inc repeat around. (24)
- Round 5:
- 3 sc, inc repeat around. (30)
- Continue increasing:
- 4 sc, inc repeat around. (36)
- Work Even:
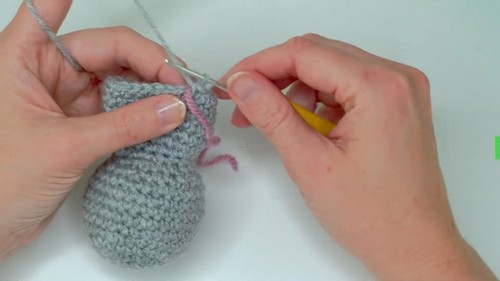
- 1 sc in each st for 6 rounds. This forms the head.
- 1 sc in each st for 6 rounds. This forms the head.
- Start Decreasing:
- 3 sc, dec repeat around. (24)
- 2 sc, dec repeat around. (18)
- 1 sc, dec repeat around. (12)
- Stuff the Head:
- Add stuffing until the head is firm but not overly stuffed.
- Continue for Body:
- Inc in every st around. (24)
- 1 sc in each st for 6 rounds.
- 2 sc, dec repeat around. (18)
- 1 sc, dec repeat around. (12)
- Add stuffing to the body.
- Dec in each st around until closed. (6)
- Cut yarn, leave a tail. Use tapestry needle to weave the end through the front loops of each st and pull tight to close.
Trunk:
- Magic Ring:
- 6 sc in the magic ring.
- Form Trunk:
- Work in the back loop only, 1 sc in each st. (6)
- Work in front loop only, 1 sc in each st. (6)
- Continue 1 sc in each st for 7 rounds.
- Stuff lightly and insert pipe cleaner (optional for shaping).
Ears (Make 2):
- Magic Ring:
- 6 sc in the magic ring.
- Rounds 1-4:
- Increase similar to head pattern until you reach 24 stitches.
- Round 5:
- 4 sc, inc around. (36)
- Final Round:
- Work in the back loop only, 5 sc, inc around. (42)
- Flatten and sew onto the head.
Arms (Make 2):
- Magic Ring:
- 6 sc in the magic ring.
- Increase:
- Inc in every st. (12)
- Round 3-4:
- 1 sc in each st. (12)
- Start Decreasing:
- 2 sc, dec around. (9)
- Work Even:
- 1 sc in each st. (9)
- Stuff lightly and leave a tail for sewing.
Legs (Make 2):
- Magic Ring:
- 6 sc in the magic ring.
- Increase:
- Inc in every st. (12)
- Back Loop Only:
- 1 sc in each st. (12)
- Work Even:
- 1 sc in each st for 3 more rounds. (12)
- Stuff lightly, leave a long tail for sewing.
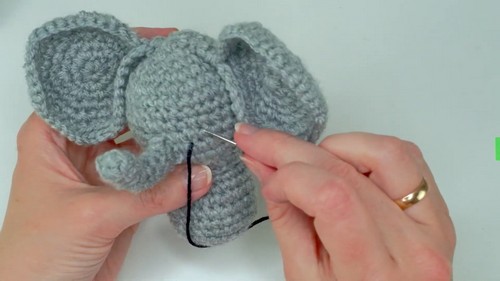
Assembly:
- Attach Trunk:
- Position between rounds 8-10 of the head. Sew securely.
- Attach Ears:
- Pin ears on rounds 2-3 of the head. Ensure even spacing, then sew securely.
- Attach Arms:
- Pin at the side of the body, sew securely.
- Attach Legs:
- Pin at the bottom so the elephant can sit, sew securely.
- Embroider Eyes:
- Using black yarn, embroider the eyes or use safety eyes.
By following these steps, you'll create a cute amigurumi elephant. Enjoy crocheting!


Leave a Reply