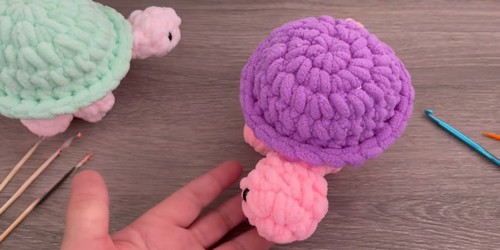
Creating a cute little turtle friend with your own hands! By diving into the world of crochet turtle amigurumi, you can make this happen. This Easy Turtle project is perfect for beginners and a joy for those with more experience. With some yarn, a crochet hook, and a bit of patience, you'll stitch together a charming turtle that can sit cozily on your desk or become a treasured gift.
Crochet Easy Turtle Amigurumi
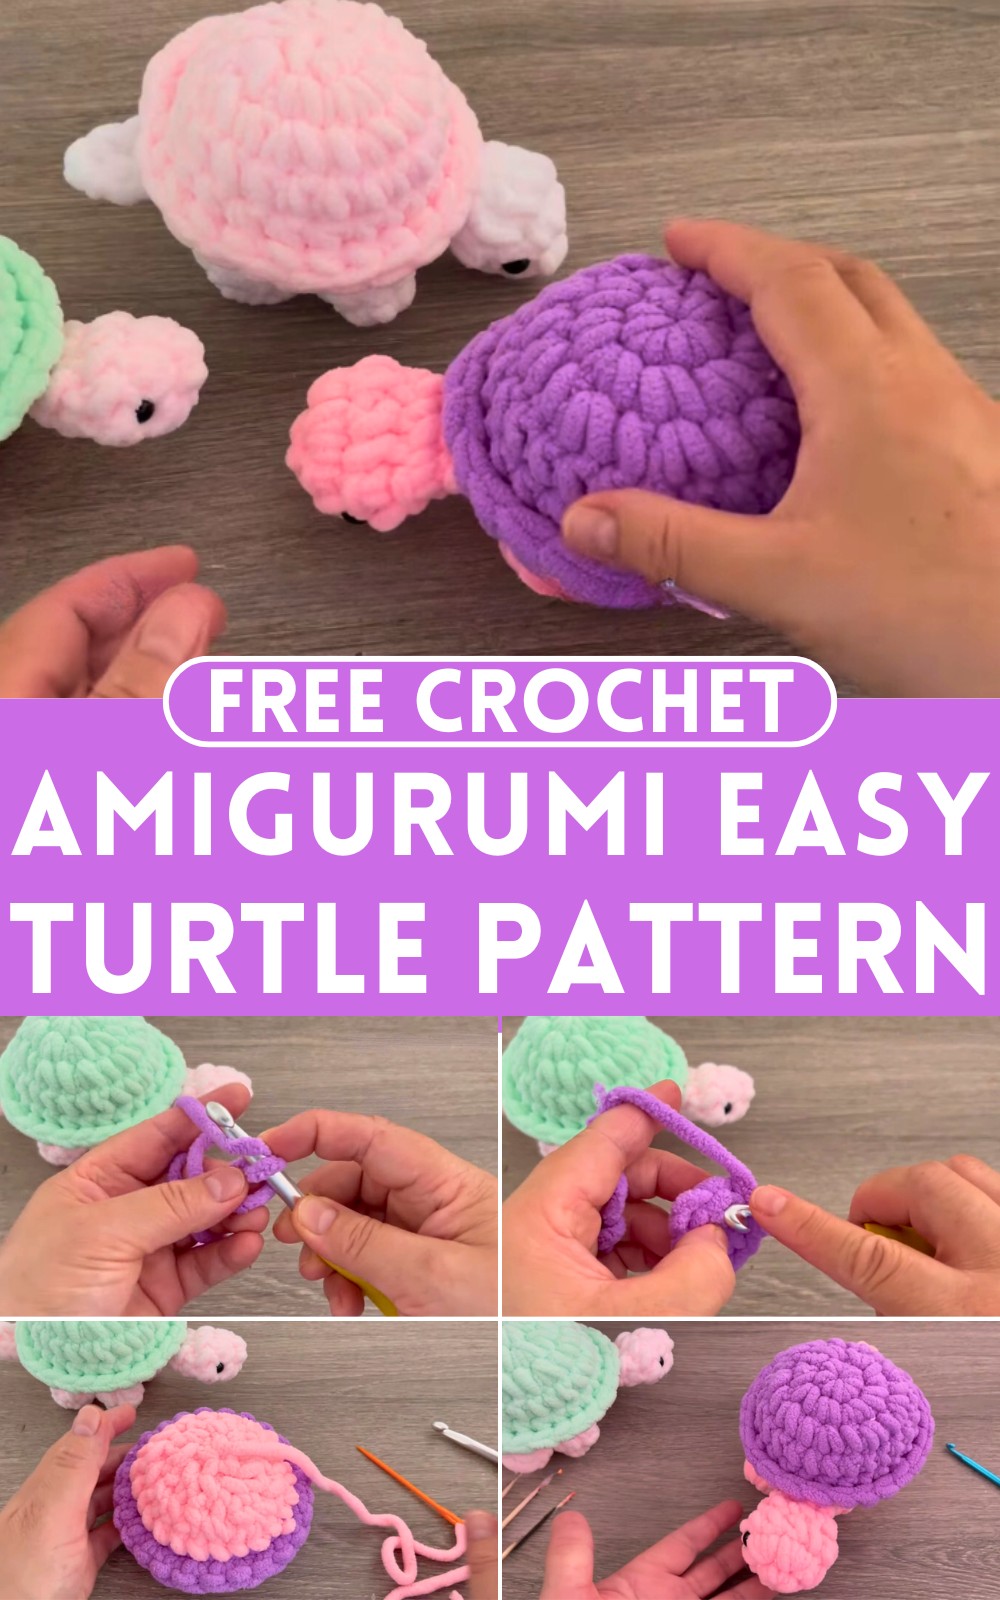
Every loop and knot brings its shell, head, and tiny legs to life, making it not just a craft project, but a journey into creating something truly special. Get ready to bring a little turtle buddy into the world through the magic of crochet!
Materials Needed
- Yarn in desired colors
- Crochet hook
- Tapestry needle
- Stitch markers
- Stuffing material
- Eyes, mouth, or other decorative pieces
Body
Starting the Body
- Make a magic circle.
- Chain 1 and make 8 single crochets into the magic circle.
- Close the magic circle by pulling the end through the first single crochet to form a tight circle.
Increasing Rounds
- Chain 1, then work 8 increases in the next round for a total of 16 single crochets.
- Chain 1, [1 single crochet, 1 increase] repeat around to total 24 stitches.
Texture Round
- Chain 1, crochet 1 single crochet in each stitch for two rounds, maintaining 24 stitches.
- Place a marker in the back loop of the first single crochet.
- Chain 1, then make 1 single crochet in each stitch taking only the front loop.
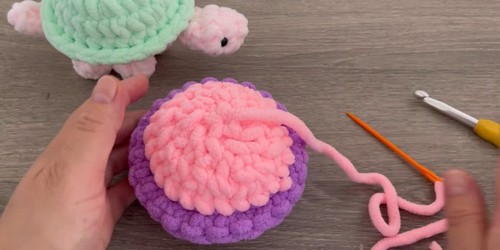
Attach New Yarn Color
- Cut the yarn and finish off with an invisible join.
- Insert the hook in the space where the marker is and attach a new yarn color.
- Make 1 single crochet in each stitch, taking the back loop only to maintain 24 stitches.
Decreasing Rounds
- Chain 1, then [1 single crochet, 1 decrease (taking the front loops of the next 2 stitches)] repeat around to reduce to 16 single crochets.
Final Shaping
- Stuff the body of the turtle.
- Chain 1, [make decrease taking the front loop of each stitch] repeat 8 times to have 8 stitches left.
- Slip stitch to join, use a tapestry needle to close the gap. Leave a long tail.
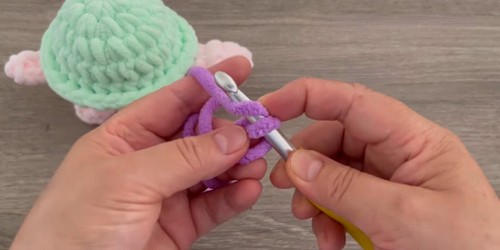
Legs
Making the Legs
- For each leg, start with a magic circle.
- Chain 1, then make 6 single crochets into the magic circle.
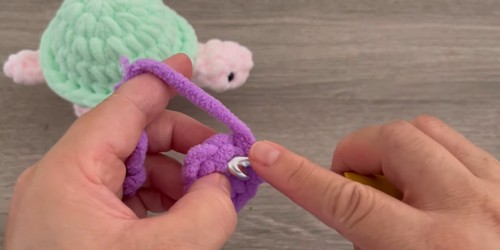
- Close the magic circle and slip stitch on top of the first single crochet.
- Chain 1, crochet 1 single crochet in each stitch around.
- Slip stitch to join and leave a long tail for attachment.
Repeat steps 16-20 to make a total of 3 more legs.
Tail
- Chain 5, skip 2 chains, and make 3 single crochets in the remaining 3 chains.
- Chain 1, cut the yarn, and secure.
Head
Starting the Head
- Make a magic circle, chain 1, and make 5 single crochets into the magic circle.
- Close the magic circle and slip stitch on top of the first single crochet.
Shaping the Head
Make 5 increases in the next round for 10 single crochets.
- Crochet 1 single crochet in each stitch for one round.
- Slip stitch to join.
Final Head Details
- Position the eyes between stitches 2 and 3.
- Chain 1, then [make decrease taking the front loop] repeat 5 times.
- Slip stitch to join, chain 1.
- Make 2 single crochets connecting both sides of the head to align with the eyes.
Assembly
Attach the head to the body.
- Position and attach the legs and tail.
- Ensure all parts are well-stuffed.
Finishing Touches
- Add any additional details like a mouth or nose.
Completion
Your crochet turtle is now complete and ready for adventures!


Leave a Reply