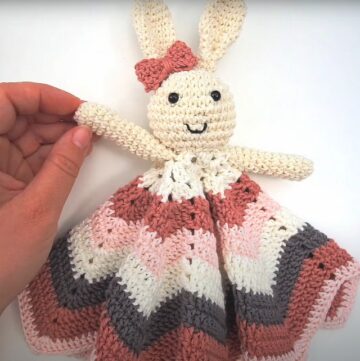
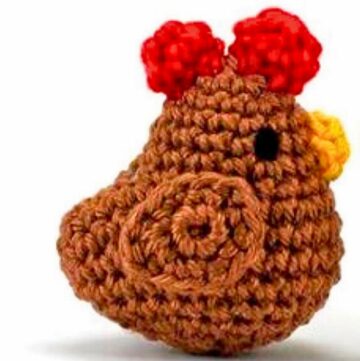
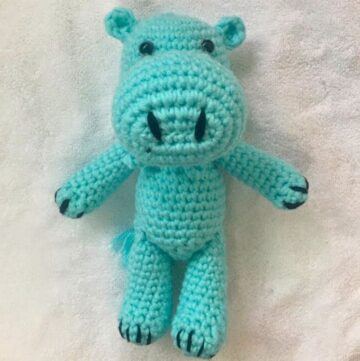
Crochet your new favorite snugly friend with the Amigurumi Cute Pig Pattern. Ideal for gifts or decor, it's easy and adorable to make!
Crochet Amigurumi Cute Pig Pattern
Get ready to crochet your new favorite snugly friend! The Amigurumi Cute Pig Pattern is an irresistibly charming project that will warm your heart. Made with plush yarn and a 5.5 mm hook, this lovable piglet boasts perky ears, a curly tail, and a detailed snout. Its round body, tiny legs, and big, expressive eyes make it an adorable creation. This pattern is not only enjoyable to make but also results in a delightful handmade toy that's perfect for gifts or as a charming home decoration.

Why Love This Pattern?
- Adorable and Cute Design: The pattern creates an incredibly cute and charming little piggy, which is sure to bring a smile to anyone’s face.
- Detailed Instructions: The tutorial provides step-by-step instructions, making it easy to follow along, even for beginners. Every step from making the arms and legs to attaching the ears and tail is clearly explained.
- Comprehensive Guide: It covers everything you need, from the materials required to the techniques used. You'll know exactly what you'll need and how to use it for the best results.
- Engaging Learning Experience: The video is engaging, and the instructor's clear and friendly tone makes the learning process enjoyable.
- Customization Possibilities: You can choose the plush yarn color of your choice, allowing you to customize your piggy to your liking.

Crochet Amigurumi Cute Pig Pattern
Materials Needed:
- Plush yarn in the color of your choice
- 5.5 mm crochet hook
- Pair of scissors
- Stitch marker
- Darning needle
- 10 mm security eyes
- Fiber fill
Pattern Instructions:
Arm: (Make 2)
- Foundation: Make a slip knot and chain 2.

- Round 1: Work 6 single crochets (SC) in the second chain from the hook. Pull the starting tail to close the loop.
- Round 2: Work 6 SC in spiral (one SC in each stitch).

- Rounds 3-6: Continue in spiral for 4 more rounds, maintaining 6 SC per round.
- Flatten and Close: Fold top of the arm and work 3 SC across both sides. Chain 1, cut the yarn, and pull through to secure.
Muzzle:
- Foundation: Make a slip knot and chain 4.
- Round 1: Work 2 SC in second chain from hook, 1 SC in next, 4 SC in last chain. Work on the base: 1 SC in next, 1 increase (2 SC in last).
- Round 2: Work 10 SC only in the back loops.
- Round 3: Continue for another round with full SC in both loops. Fasten off, leaving a long tail for sewing.
Ears: (Make 2)
- Foundation: Make a slip knot and chain 6.
- Row 1: Work 5 SC starting from second chain.
- Row 2: Turn, work a decrease over the first two stitches, 1 SC in next, another decrease over the last two stitches.
- Row 3: Turn, decrease over all 3 stitches.
- Finish: Chain 1, cut the yarn, and pull through to secure.
Legs and Body:
- Legs (Make 2):
- Make a slip knot, chain 2.
- Work 6 SC in the second chain from hook.
- Round 2: 1 SC, 1 increase repeat around (total 9 SC).
- Complete for 4 rounds in SC.
- Connect to Body:
- On the second leg: Continue without breaking the yarn.
- Chain 2, attach and join to the first leg with SC.
- Work around the first leg, chain stitches, and second leg to reach 30 SC in total.

- Body Rounds:
- Rounds 1-5: Work in 30 SC in spiral.
- Round 6: 3 SC, 1 decrease repeat around (24 SC).
- Round 7: Single crochet around (24 SC).
- Round 8: 2 SC, 1 decrease repeat around (18 SC).
- Attaching Arms:
- Work 4 SC, align arm and crochet 3 SC through both layers.
- Work 6 SC, align second arm and crochet 3 SC through both layers.
- Finish with 2 SC to complete the round.
- Decreasing and Shaping Head:
- Next rounds: Decrease shaping until the head is closed with decreases.

Tail and Assembly:
- Tail:
- Make a slip knot, chain 7.
- Work 3 SC in second chain and next two stitches to create a curl.
- Secure and sew to backside.
- Assembly:
- Secure arms and legs firmly.
- Attach muzzle and ears according to the positioning in the video.
- Insert safety eyes and embroider facial features as desired.


Leave a Reply