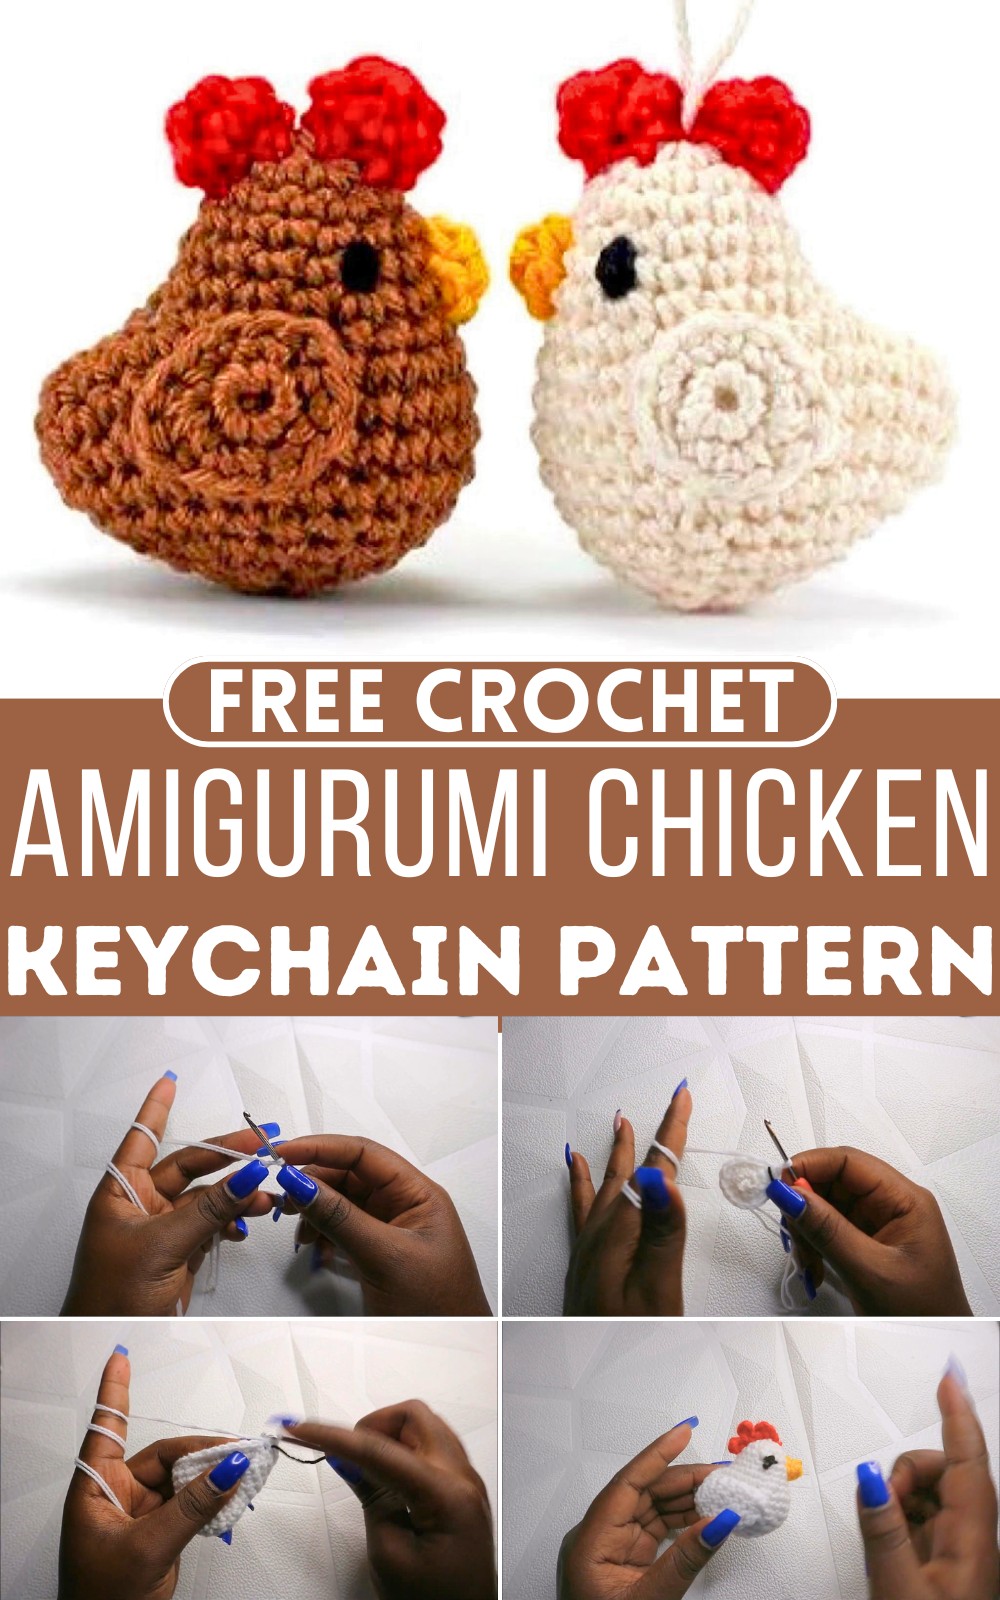
Why not make Amigurumi Chicken Keychain? Easy pattern for beginners using simple stitches. Perfect for keychains or handmade gifts!
Crochet Amigurumi Chicken Keychain
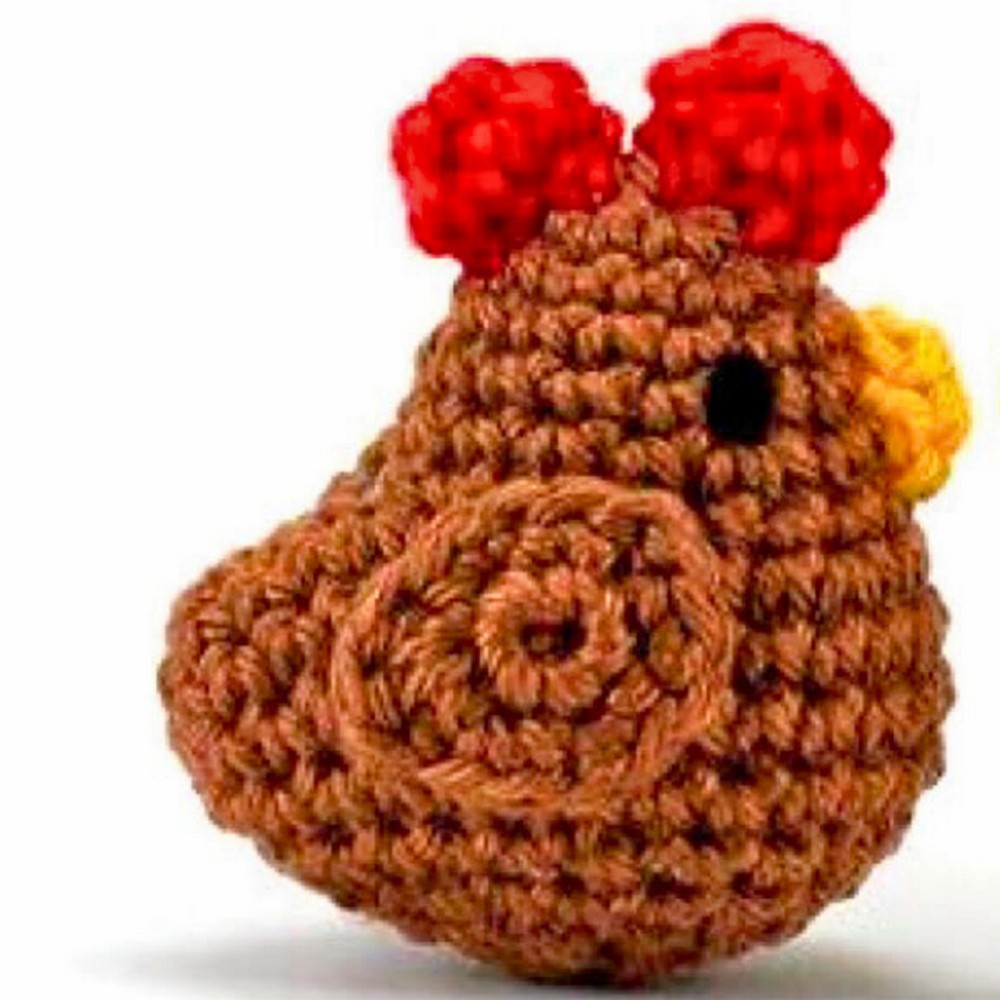
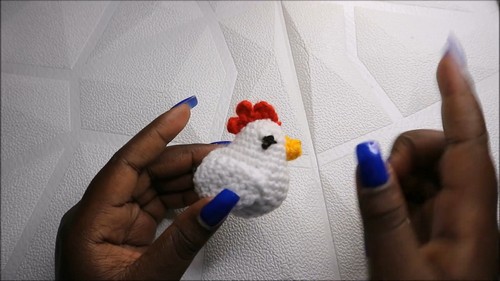
Crochet this adorable Amigurumi Chicken Keychain pattern today! This easy-to-follow guide will have you creating a charming tiny chicken that is great for keychains or little decorations. The design features a rounded body, small wings, and a cute beak with a colorful crest on top. Using simple shapes and stitches, you’ll start with the magic ring and work through rounds of single crochets and increases. With step-by-step instructions, even beginners can enjoy making this cute little crochet project. It’s a fun way to practice your skills and create delightful handmade gifts!
Why Love This Pattern?
There are several reasons to love this crochet pattern for a cute chicken keychain:
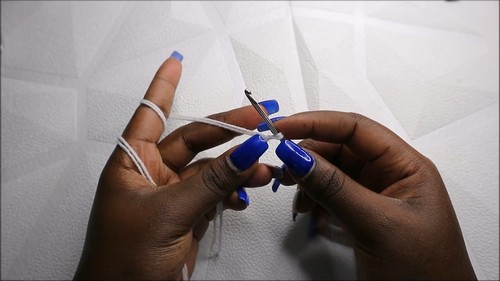
- Simple and Straightforward: The pattern is easy to follow, with clear instructions for each step. Even beginners can understand and successfully create the keychain by following the steps outlined in the video.
- Adorable Design: The end product is a charming and cute chicken keychain that is not only functional but also a delight to look at. It’s a great gift idea and can add a fun touch to your keys or bags.
- Quick to Make: With concise rounds and straightforward stitches, this project doesn't take too long to complete. It's a perfect weekend project or quick gift idea.
- Customization: There's room for creativity. You can modify colors, add additional details, or make multiple keychains with slight variations to suit your preferences or those of gift recipients.
How To Crochet Amigurumi Chicken Keychain
Materials Needed:
- Yarn of your choice
- Crochet hook
- Stitch marker
- Stuffing
- Scissors
- Yarn needle
Body:
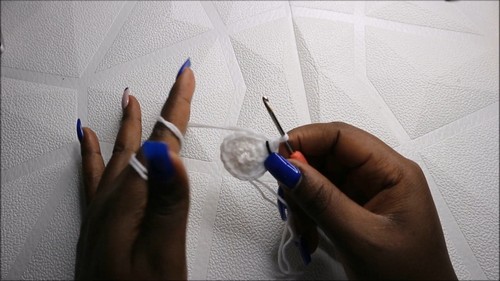
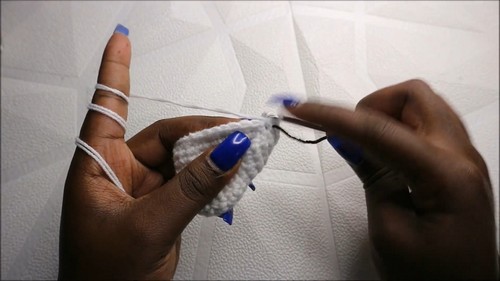
- Start with a Magic Ring:
- 6 single crochets into the magic ring.
- Pull the yarn to close the ring, place a marker.
- Row 1:
- Increase every stitch around (12 single crochets total).
- Row 2:
- 3 single crochets, then increase. Repeat three times for a total of 15 stitches.
- Rows 3 & 4:
- Single crochet all the way around for a total of 15 stitches per round.
- Row 5:
- 4 single crochets, then increase. Repeat three times for a total of 18 stitches.
- Row 6:
- Chain 4.
- Single crochet in the second chain from the hook and continue with single crochet back around into the next 18 stitches (total of 21 stitches).
- Row 7:
- 3 single crochets, increase.
- 5 single crochets, increase.
- 2 single crochets, increase.
- 1 single crochet, increase.
- 1 single crochet, increase.
- 2 single crochets, increase.
- 4 single crochets (Total 30 stitches).
- Rows 8-10:
- Single crochet all the way around for a total of 30 stitches per round.
- Row 11:
- Single crochet, decrease three times.
- 4 single crochets, decrease.
- 2 single crochets, decrease.
- Single crochet, decrease, single crochet, decrease.
- 2 single crochets, decrease.
- Single crochet in the last stitch (Total 21 stitches).
- Row 12:
- Decrease, then single crochet and decrease. Repeat.
- Single crochet around the rest (Total 14 stitches).
- Row 13:
- Single crochet, decrease. Repeat six times for a total of 12 stitches.
- Row 14:
- Decrease all the way around for a total of 6 stitches.
- Finish the Body:
- Slip stitch and fasten off. Stuff the body before closing completely.
Wings (Make 2):
- Start with a Magic Ring:
- 6 single crochets into the magic ring.
- Row 1:
- Increase every stitch around (12 single crochets total).
- Rows 2-4:
- Single crochet all the way around for a total of 12 stitches per round.
- Row 5:
- 4 single crochets, then decrease (10 stitches total).
- Row 6:
- 3 single crochets, then decrease (8 stitches total).
- Row 7:
- 2 single crochets, decrease (6 stitches total).
- Finish the Wing:
- Slip stitch and fasten off with enough yarn to sew the wings to the body.
Beak:
- Start with a Magic Ring:
- 4 single crochets into the magic ring.
- Row 1:
- Single crochet, then increase.
- Single crochet, increase.
- Finish the Beak:
- Slip stitch and fasten off with enough yarn to sew the beak to the body.
Crest:
- Chain 3:
- Half double crochet in the second chain from the hook, then slip stitch.
- Chain 3 again.
- Half double crochet in the second chain from the hook, then slip stitch.
- Repeat one more time.
- Finish the Crest:
- Chain one and cut off the yarn with enough to sew the crest to the body.
Assembly:
- Attach the Wings:
- Sew the wings starting from the 9th stitch downward on each side of the body.
- Attach the Beak:
- Sew the beak starting from the second row down the head.
- Attach the Crest:
- Sew the crest to the top middle of the head.
- Add Details:
- Embroider eyes onto the beak.
Enjoy your crochet chicken keychain!


Leave a Reply